#90daysofdevops #41 :Setting up an Application Load Balancer with AWS EC2 ☁

What is Load Balancing?
Load balancing is the distribution of workloads across multiple servers to ensure consistent and optimal resource utilization. It is an essential aspect of any large-scale and scalable computing system, as it helps you to improve the reliability and performance of your applications.
Elastic Load Balancing:
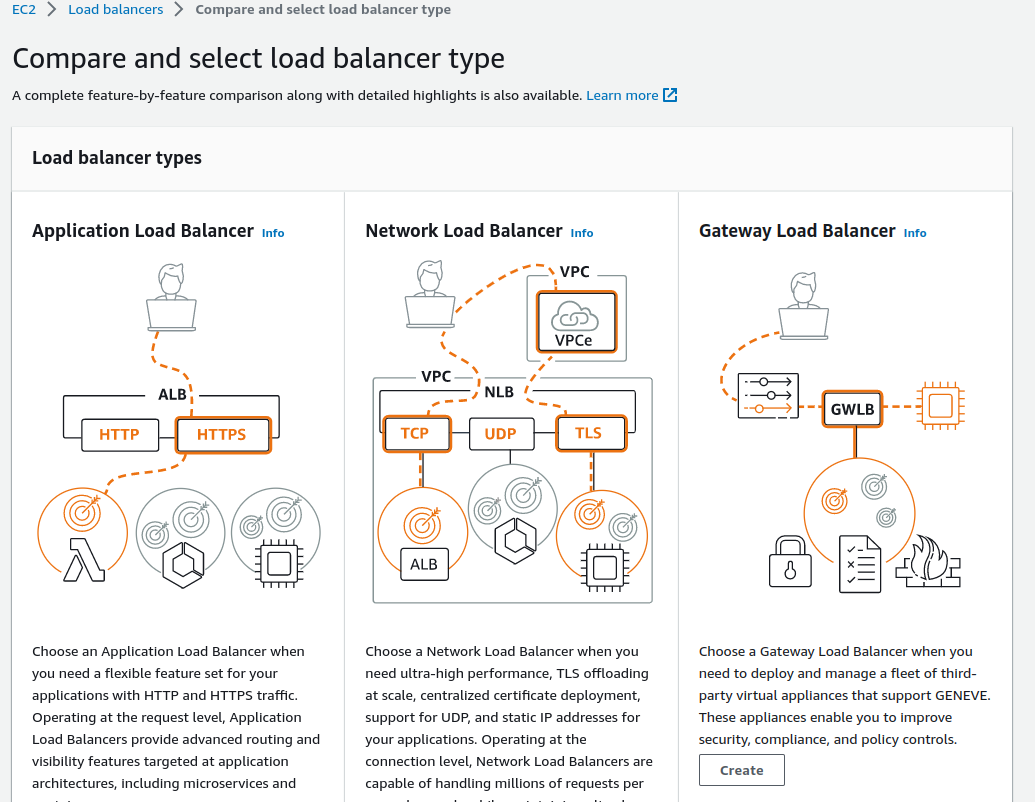
Elastic Load Balancing (ELB) is a service provided by Amazon Web Services (AWS) that automatically distributes incoming traffic across multiple EC2 instances. ELB provides three types of load balancers:
Read more from here
- Application Load Balancer (ALB) - operates at layer 7 of the OSI model and is ideal for applications that require advanced routing and microservices.
- Network Load Balancer (NLB) - operates at layer 4 of the OSI model and is ideal for applications that require high throughput and low latency.
- Classic Load Balancer (CLB) - operates at layer 4 of the OSI model and is ideal for applications that require basic load balancing features.
🎯 Today's Tasks:
Task 1:
launch 2 EC2 instances with an Ubuntu AMI and use User Data to install the Apache Web Server.
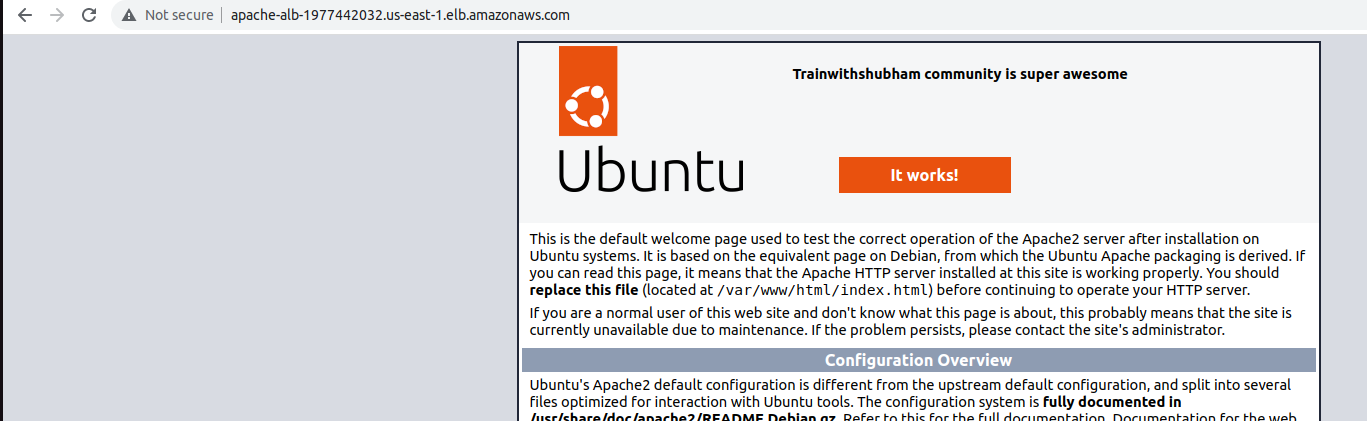
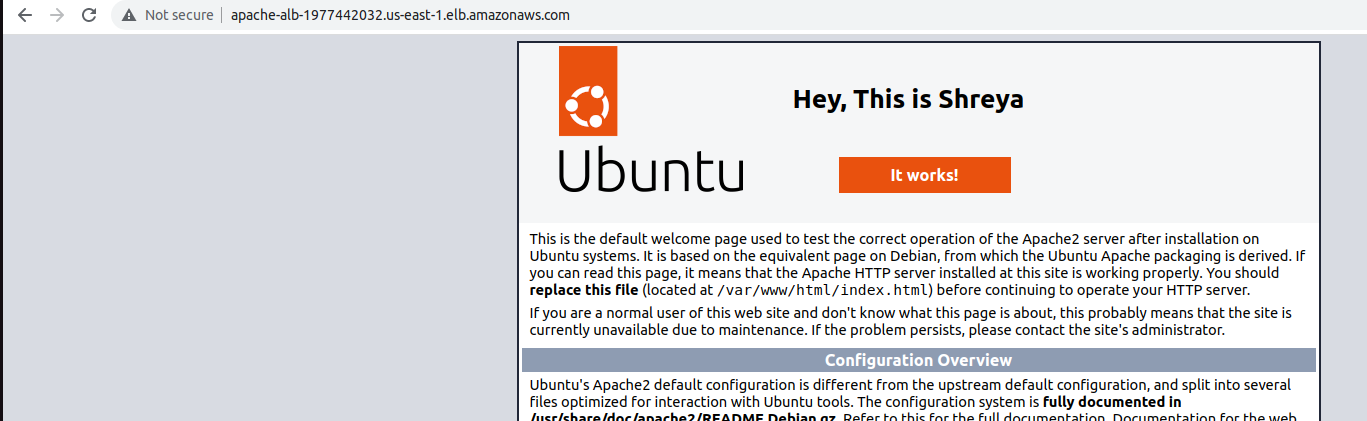
Modify the index.html file to include your name so that when your Apache server is hosted, it will display your name also do it for 2nd instance which include " TrainWithShubham Community is Super Aweasome :) ".
Copy the public IP address of your EC2 instances.
Open a web browser and paste the public IP address into the address bar.
You should see a webpage displaying information about your PHP installation.
Task 2:
Create an Application Load Balancer (ALB) in EC2 using the AWS Management Console.
Add EC2 instances which you launch in task-1 to the ALB as target groups.
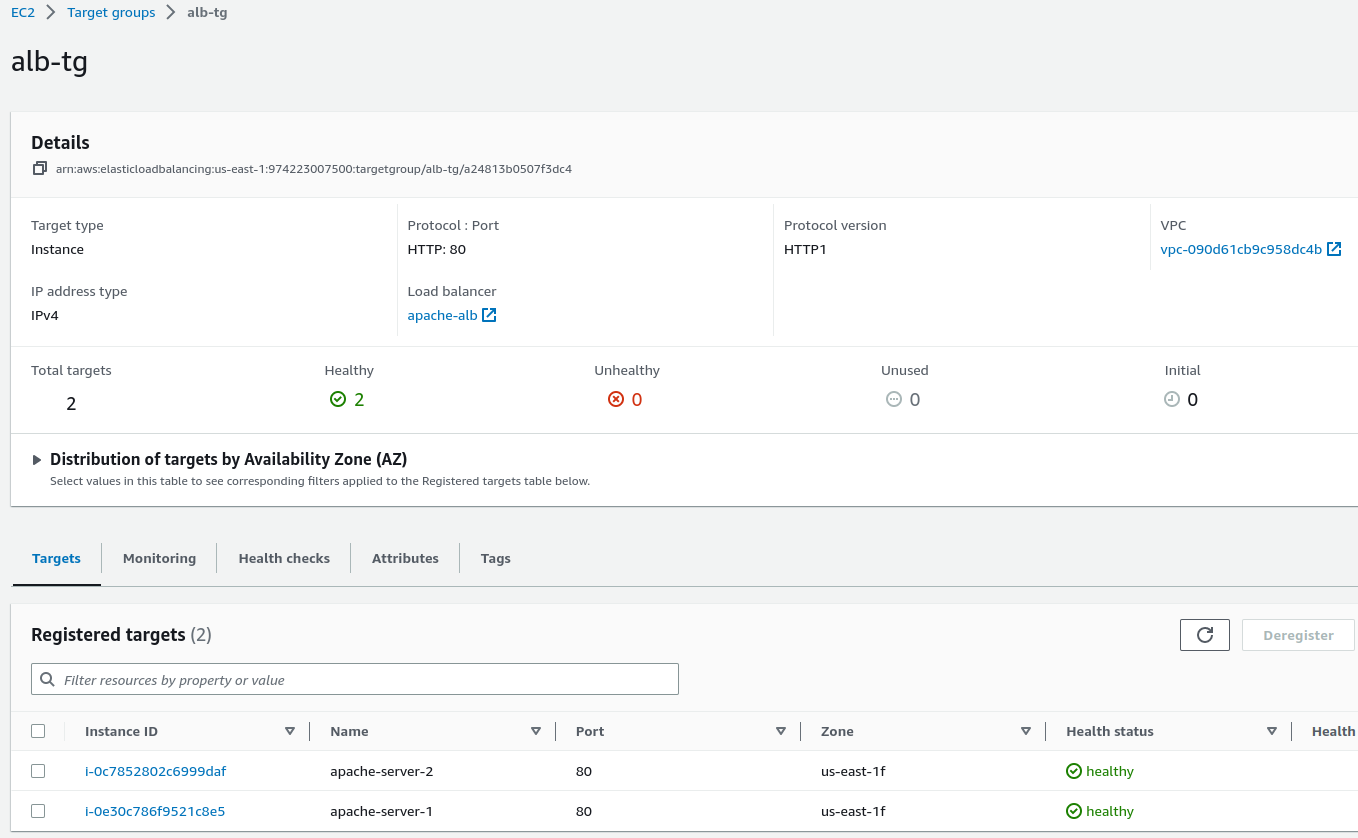
Verify that the ALB is working properly by checking the health status of the target instances and testing the load balancing capabilities.
Launch 2 EC2 instances with an Ubuntu AMI and use User Data to install the Apache Web Server.
Log in to your AWS Console and go to the EC2 dashboard. Click on the "Launch Instance" button and select "Ubuntu Server ".
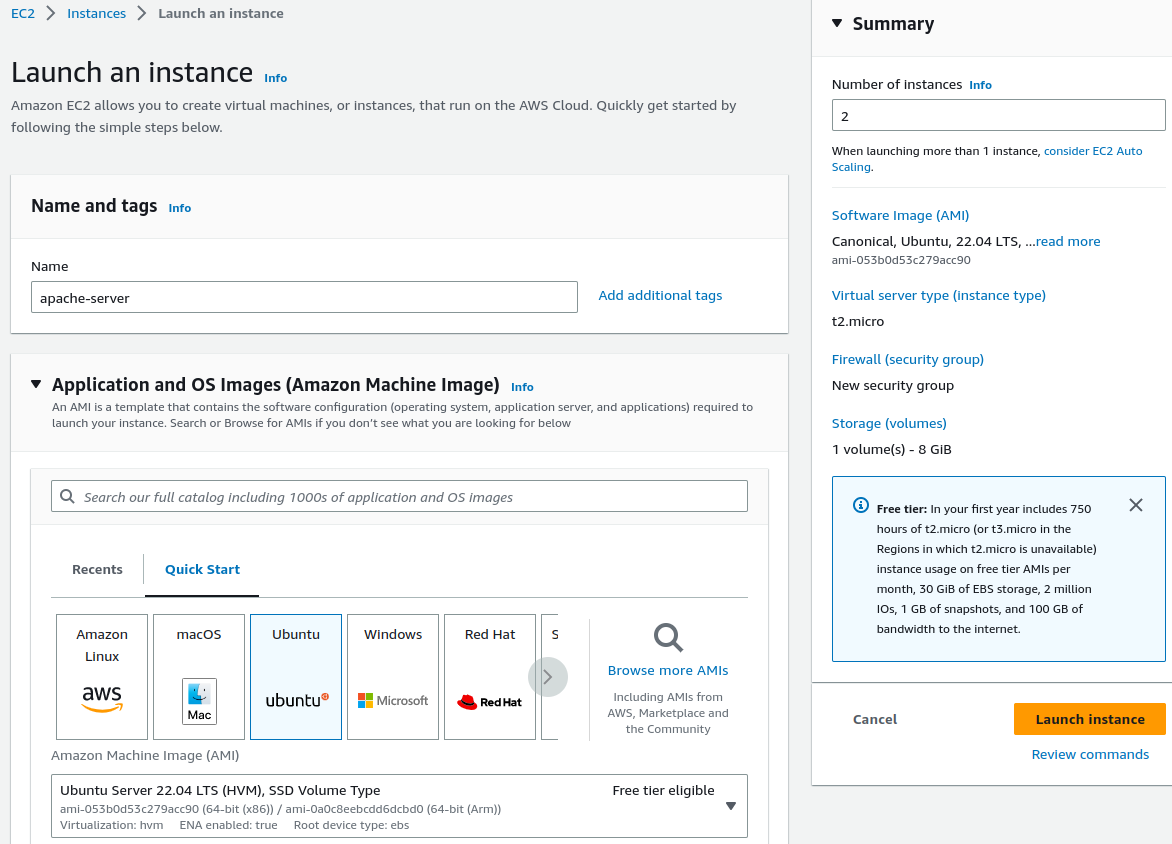
Select the instance type and key pair based on your requirements and click "Next".
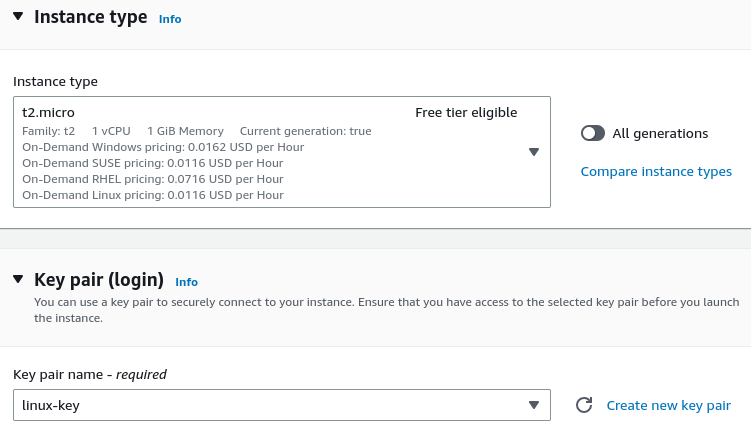
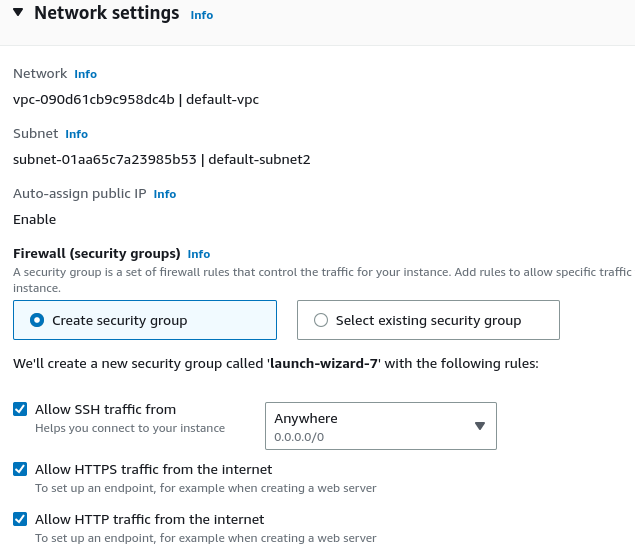
Configure network settings.
Add below script in user data of additional settings.
COPY
COPY
    #!/bin/bash
    sudo apt update
    sudo apt install -y apache2
    sudo systemctl start apache2
    sudo systemctl enable apache2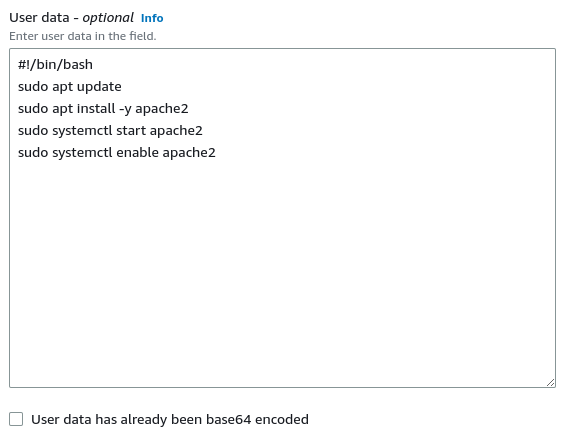
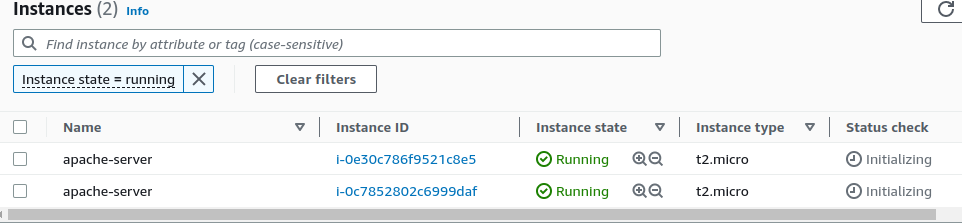
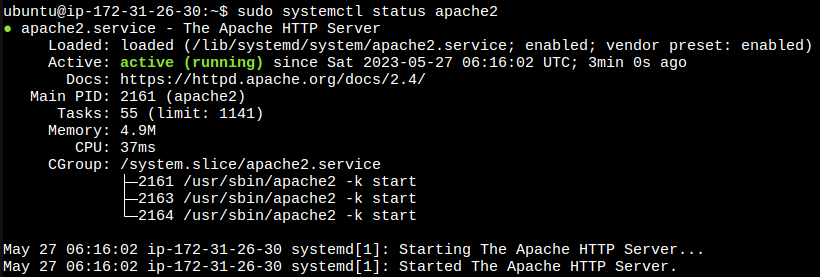
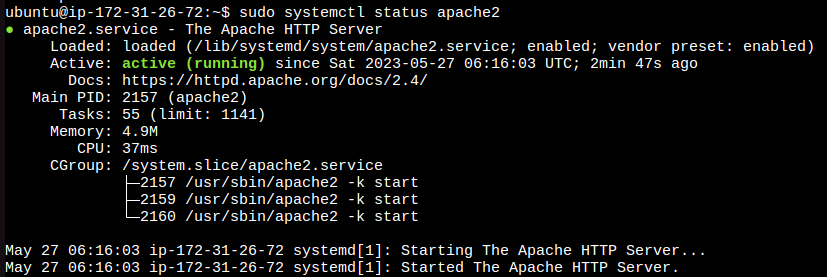
2 instances are running now.
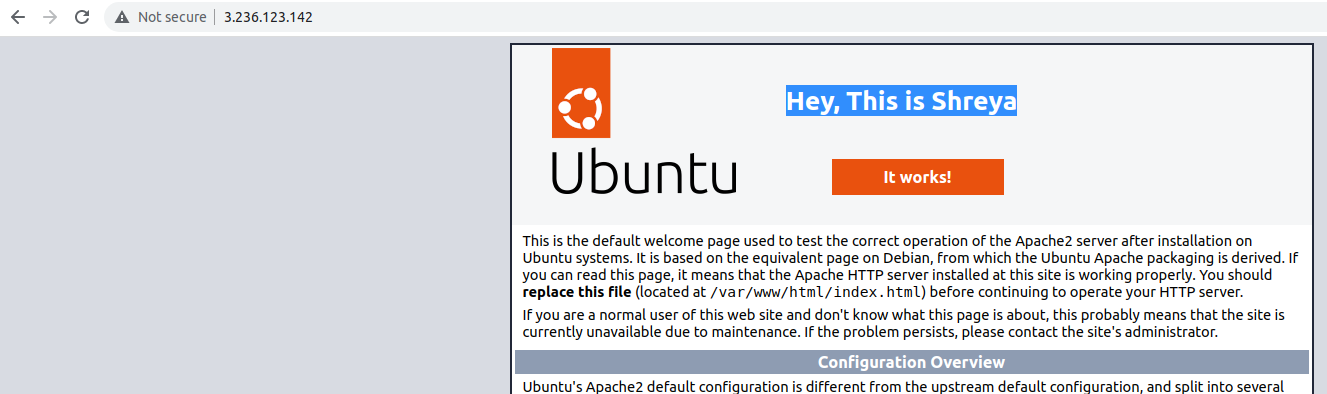
Modify the index.html file to include your name so that when your Apache server is hosted, it will display your name also do it for 2nd instance which include " TrainWithShubham Community is Super Aweasome".
For Instance 1
Copy the public IP address of your EC2 instances.
Open a web browser and paste the public IP address into the address bar.
You should see a webpage displaying information about your PHP installation.
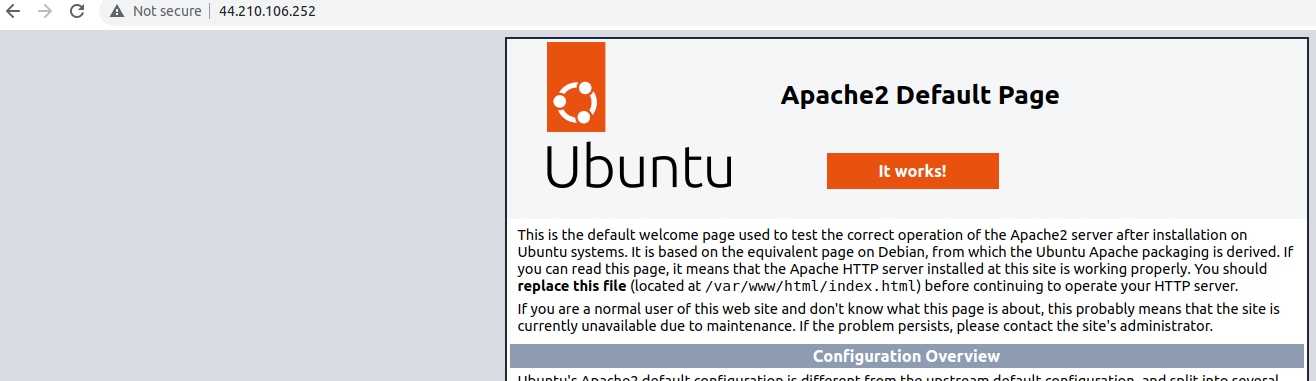
Now change the index.html file.

I have changed the text, see here.
For Instance 2
Copy the public IP address of your EC2 instances.
Open a web browser and paste the public IP address into the address bar.
You should see a webpage displaying information about your PHP installation.
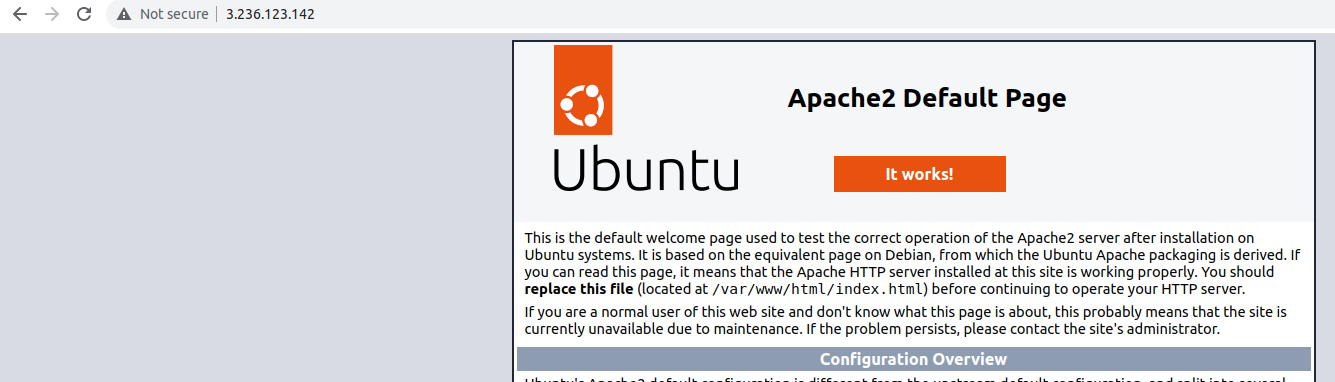
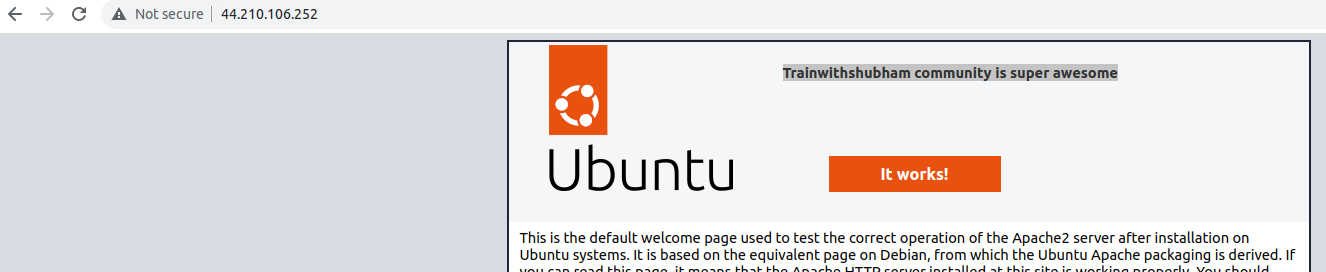
Now change the index.html file.

I have changed the text, see here.
Task 2
Create an Application Load Balancer (ALB) in EC2 using the AWS Management Console.
Navigate to "Load Balancers" in the EC2 dashboard.
Click on the "Create Load Balancer" button.
Select the "Application Load Balancer" type.
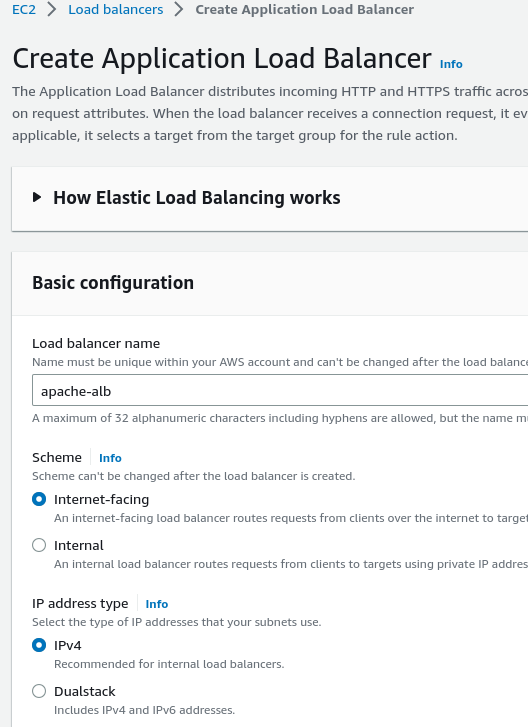
Provide a name for your load balancer.
Select the appropriate scheme (internet-facing or internal) based on your requirements.
Choose the VPC where you want to create the load balancer.
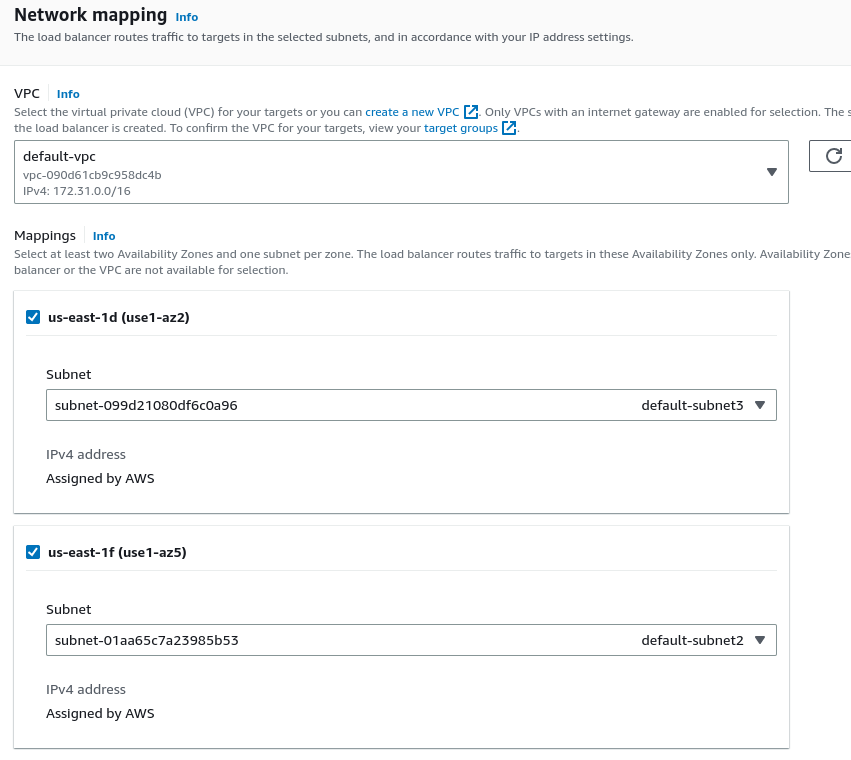
Create Target groups
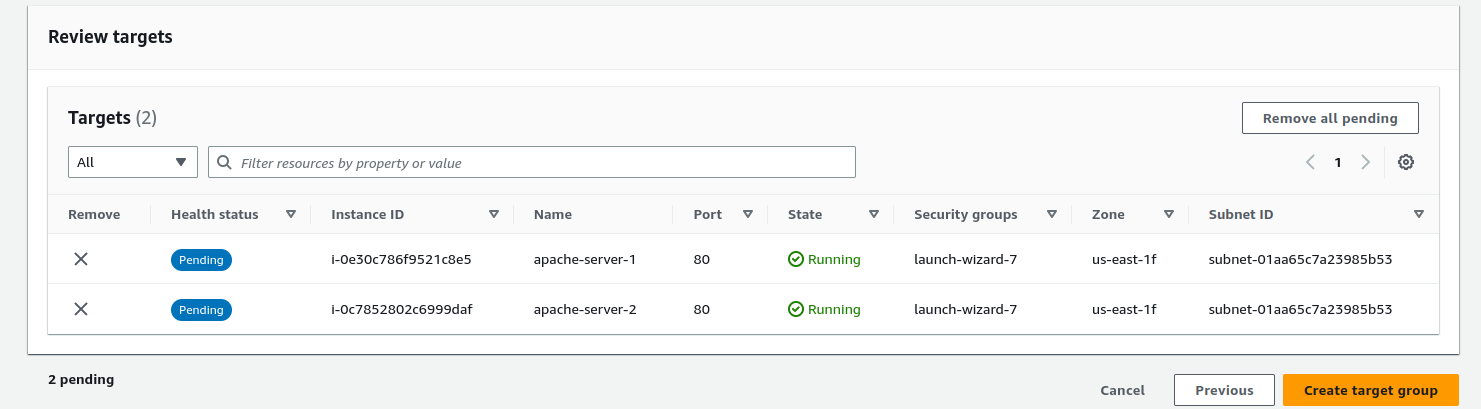
Select the instances that you want to register with the target group.
These instances will receive traffic from the load balancer.
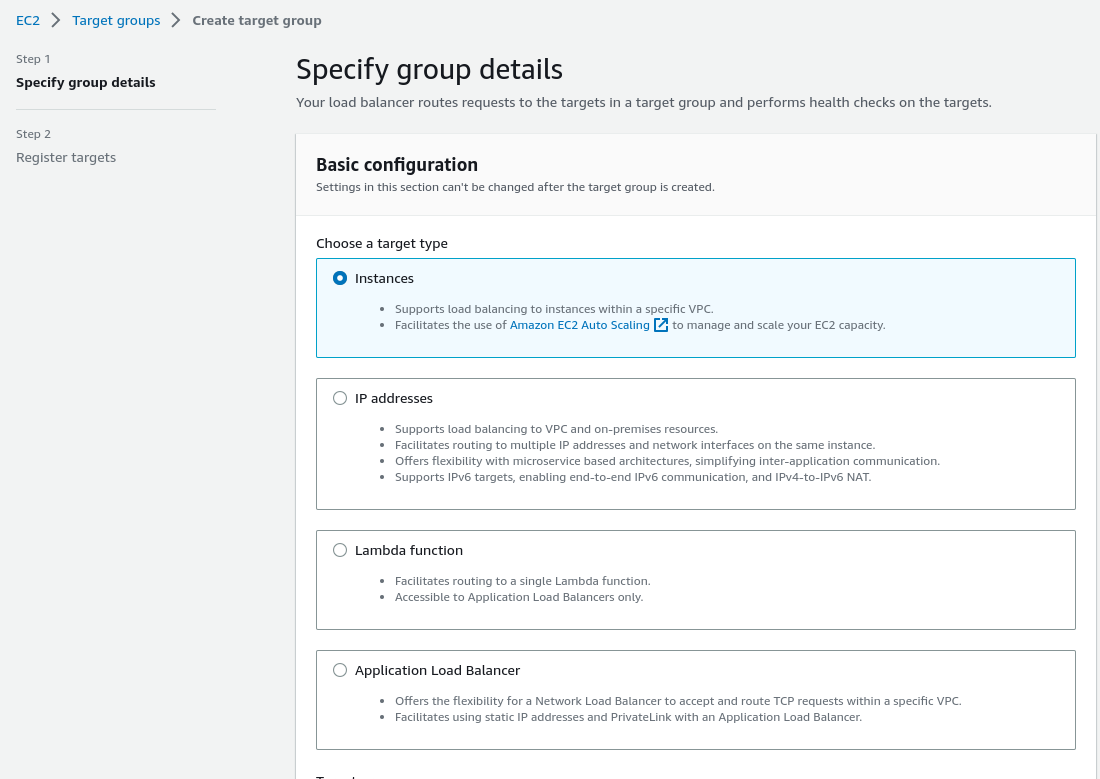
Select the instances that you want to register with the target group.
These instances will receive traffic from the load balancer.

Choose an existing or create a new security group to control inbound traffic to your load balancer.
Choose an existing or create a new target group.
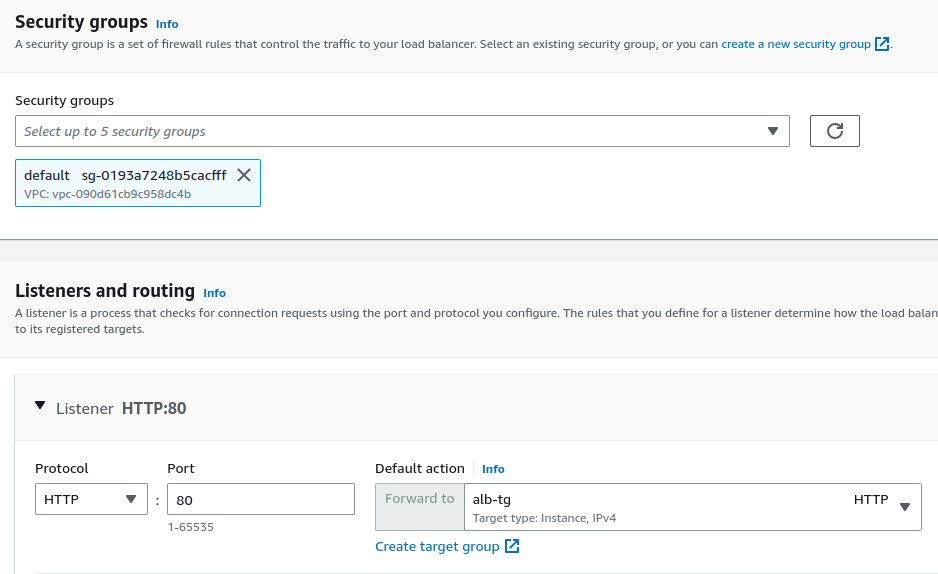
Review the configuration settings and click on "Create" to create the ALB.
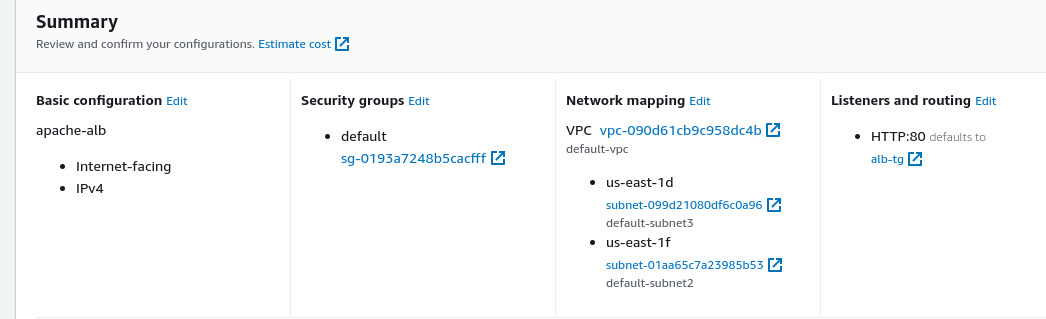
Add EC2 instances which you launch in task-1 to the ALB as target groups.
Verify that the ALB is working properly by checking the health status of the target instances and testing the load balancing capabilities.