Configure ESXI Using DCUI(Direct Control User Interface)-15
The Direct Console User Interface (DCUI) is a menu-based interface that is accessed from the host console and used to configure ESXi running on vSphere hosts.
NOTE: You must configure the ESXi settings using both DCUI and the web interface. After the server reboots and fully loads ESXi, press F2 to log in to the DCUI.
There are two way to access DCUI of ESXI:
Open Directly on Base Machine(e.g. VMware Work Station).
Using Putty(Remotely) Terminal.
The main aim to configure DCUI are:
Configure Static IP
DNS Configure
Password Change
SHH, Shell
Reset ESXI Configuration
Configure ESXi settings using Direct Console User Interface(DCUI)
The Direct Console User Interface (DCUI) is a menu-based interface that is accessed from the host console and used to configure ESXi running on vSphere hosts.
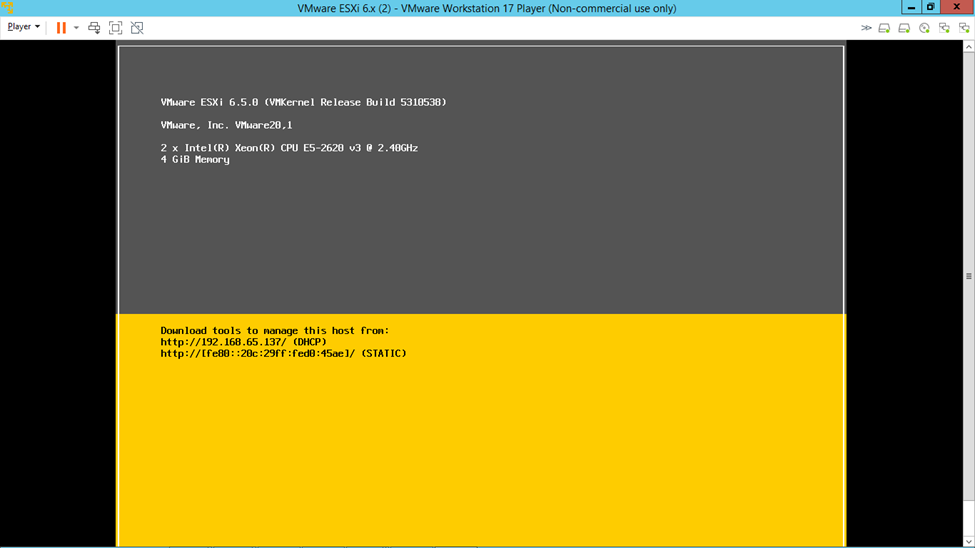
After the server reboots and fully loads ESXi, press F2 to log in to the DCUI.
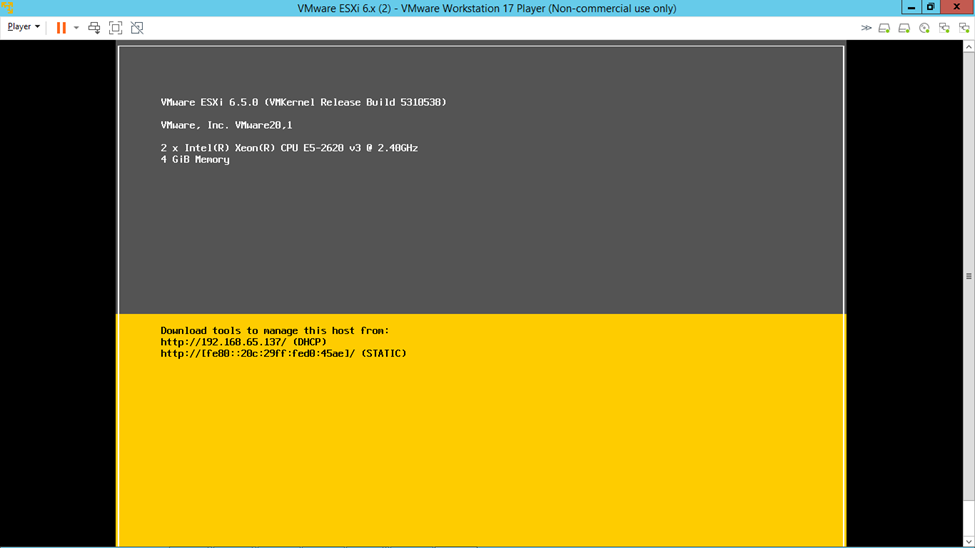
Enter the credentials that were created during the ESXi installation, and then press Enter.
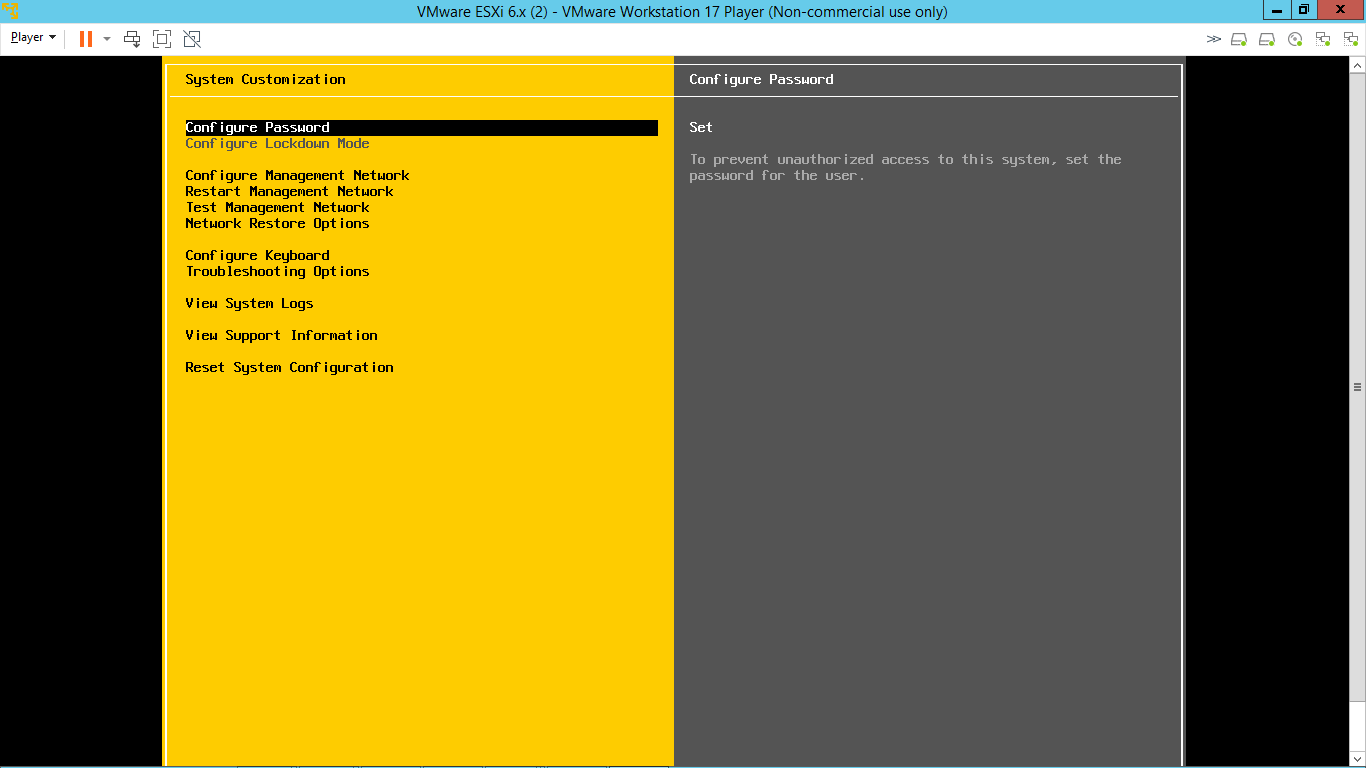
From the System Customization menu, select Configure Management Network.
Enter the required management VLAN ID, and then press Enter.
from===(1--4094) 4095---all Vlans
Select IPv4 Configuration and press Enter.
Select Set static IPv4 address and press the spacebar.Figure 1. IPv4 configuration page

Enter the IPv4 Address,Subnet Mask, and the Default Gateway, and then press Enter to confirm.
Select DNS Configuration, and then press Enter.
Enter the IP addresses of the DNS servers and FQDN of the host.
Press Esc to return to the main menu, and then press Y to confirm the changes and restart the management network.
From the main menu, click Test Management Network.The target IP addresses and DNS hostname are pre-populated.
Press Enter to perform the network test, and after the test is completed, press Enter to return to the main menu.CAUTION: If the network test fails, troubleshoot and resolve the issues before proceeding further.
From the main menu, select Troubleshooting Options > Enable ESXi Shell, and then select Enable SSH (required during validation and deployment phases) to enable the ESXi shell.
Press Esc to return to the main menu.
Using Putty
Step 1 - Determine the IP address of your Virtual Machine
Launch VMware server with the appropriate Virtual Machine
Enter "ifconfig" on the command line of your virtual server and note the inet address
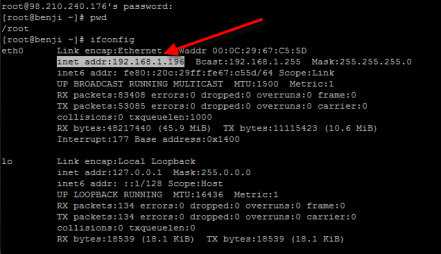
Step 2 - Download the PuTTY SSH client
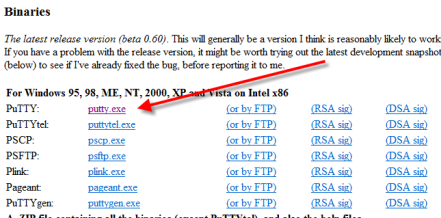
Step 3 - Installation
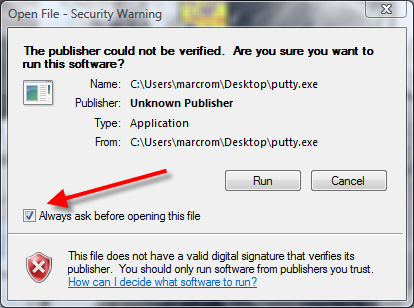
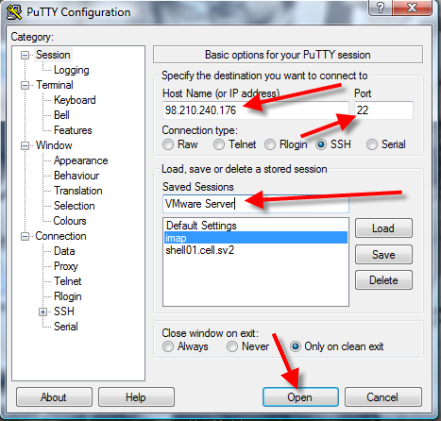
Step 4 - Configure Vitual Machine Connection Profile in PuTTY
Enter the IP address of your Vitual Machine in the "Host Name (or IP address)" field
Check to see that you are using port 22
Enter a name for this profile in the "Saved Session" field
Click the Save button to store your profile
Step 5 - Access your Virtual Machine

Step 6 - Login
Use the credential : root and password for ESXI
dcui"-->command-->F2-->password(use spacebar)
To connect to the ESX host using an SSH client:
Log into ESX host as the root user with the vSphere Client.
Click Users & Groups.
Right-click on a blank area and click Add.
Enter a username and password. Confirm your password. Starting in ESX 4.0, the password must be at least 8 characters in length.
Select Grant shell access to this user and click OK.
Open your SSH client.
Complete the necessary fields. Ensure Port is set to 22 and Protocol is set to SSH. Press Enter or click Open.
Log in as the new user you created in step 4.
Change to the root user account:
Type
su -and press Enter. This command switches the user to root access and provides the path to the root user commands.Enter the root password and press Enter. You are now logged into the ESX host via SSH as root.
When you are done administering the system, type
Exitand press Enter. This reverts to your new ESX user.Type
Exitand press Enter again. You have successfully disconnected from your SSH session.
To enable root login for SSH and SCP clients:
If you have physical access to the ESX host, login to the console of your ESX host as the root user. If you can only connect to the ESX host over the network, connect using an SSH client (such as PuTTY) and log in as a user other than root.
To create a user in ESX host for using a SSH client:
Log in to the vSphere Client as a root user.
Click Users & Groups.
Right-click on a blank area and click Add.
Enter a username and password. Confirm your password.
Note: Starting in ESX 4.0, the password needs to be at least 8 characters in length.
Select Grant shell access to this user.
Select root group from the dropdown and click Add > OK.
Note: By default it assigns to the users group and does not allow SSH access.
After you are logged in SSH session, switch to the root user with the command:
su -Note: If you do not have any other users on the ESX host, you can create a new user by connecting directly to the ESX host with VMware Infrastructure (VI) or vSphere Client. Go to the Users &Groups tab, right-click on the Users list and select Add to open the Add New User dialog. Ensure that the Grant shell access to this user option is selected. These options are only available when connecting to the ESX host directly. They are not available if connecting to vCenter Server.Edit the configuration file for SSH with the command:
nano /etc/ssh/sshd_configFind the line that starts with
PermitRootLoginand change thenotoyes. You can find this line about 2 pages down from the top.Save the file by first pressing Ctrl-O and then Enter.
Exit with Ctrl-X.
Restart the sshd service with the command:
service sshd restartNote: Alternatively, use the command:/etc/init.d/sshd restart