Day #45: Deploy Wordpress website on AWS
Over 30% of all websites on the internet use WordPress as their content management system (CMS). It is most often used to run blogs, but it can also be used to run e-commerce sites, message boards, and many other popular things. This guide will show you how to set up a WordPress blog site.
Task-01
- As WordPress requires a MySQL database to store its data ,create an RDS as you did in Day 44
To configure this WordPress site, you will create the following resources in AWS:
An Amazon EC2 instance to install and host the WordPress application.
An Amazon RDS for MySQL database to store your WordPress data.
Setup the server and post your new Wordpress app.
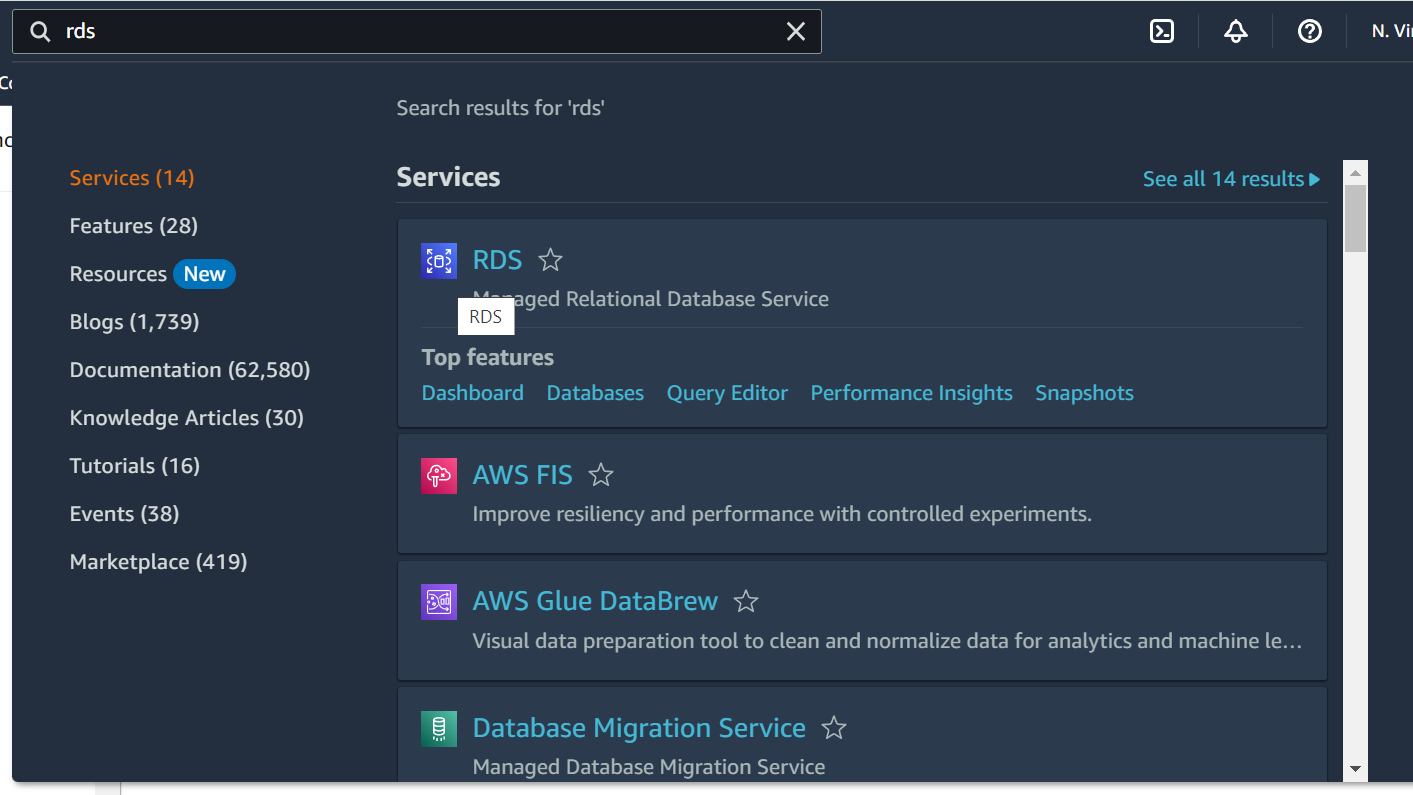
Log in to AWS console and search RDS in Search bar.
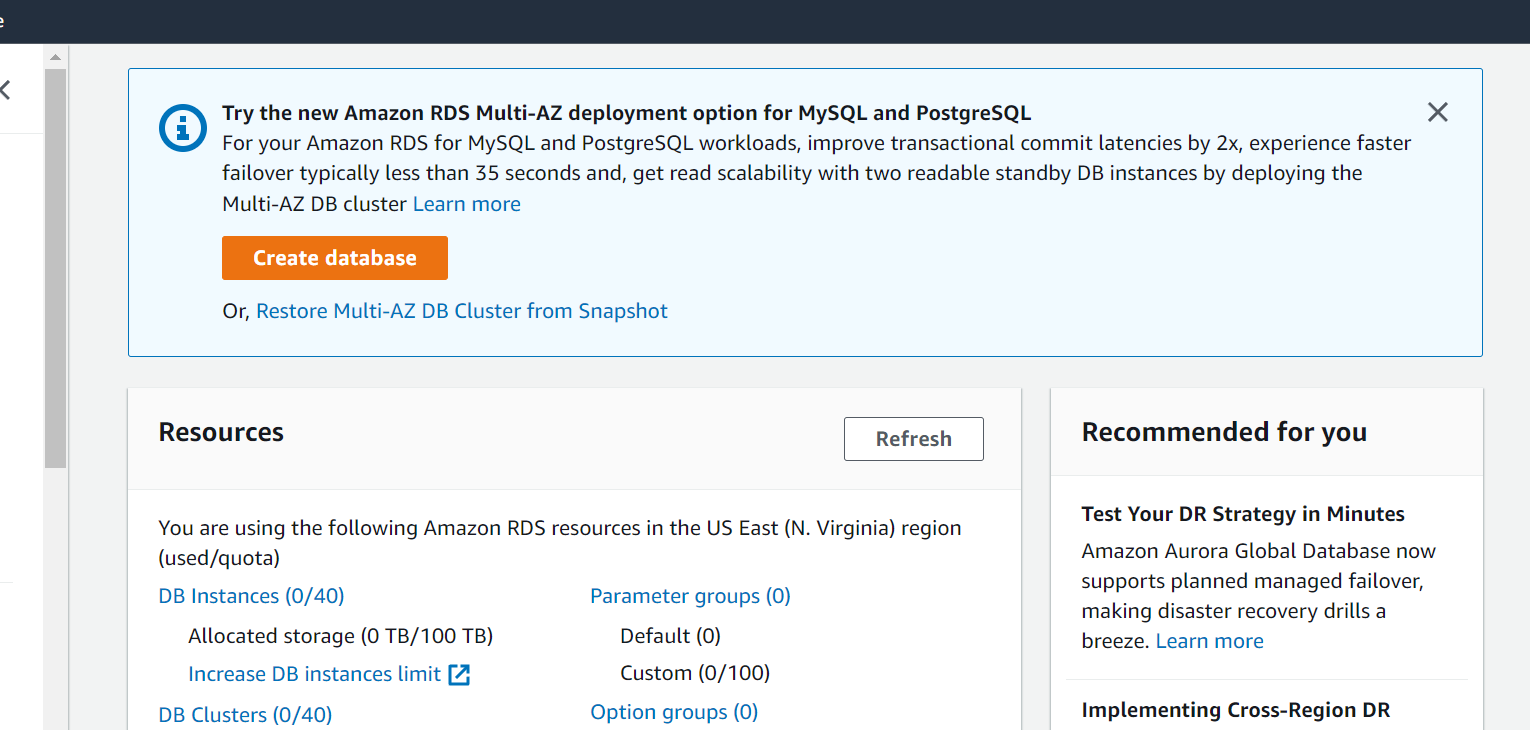
Click on Create database
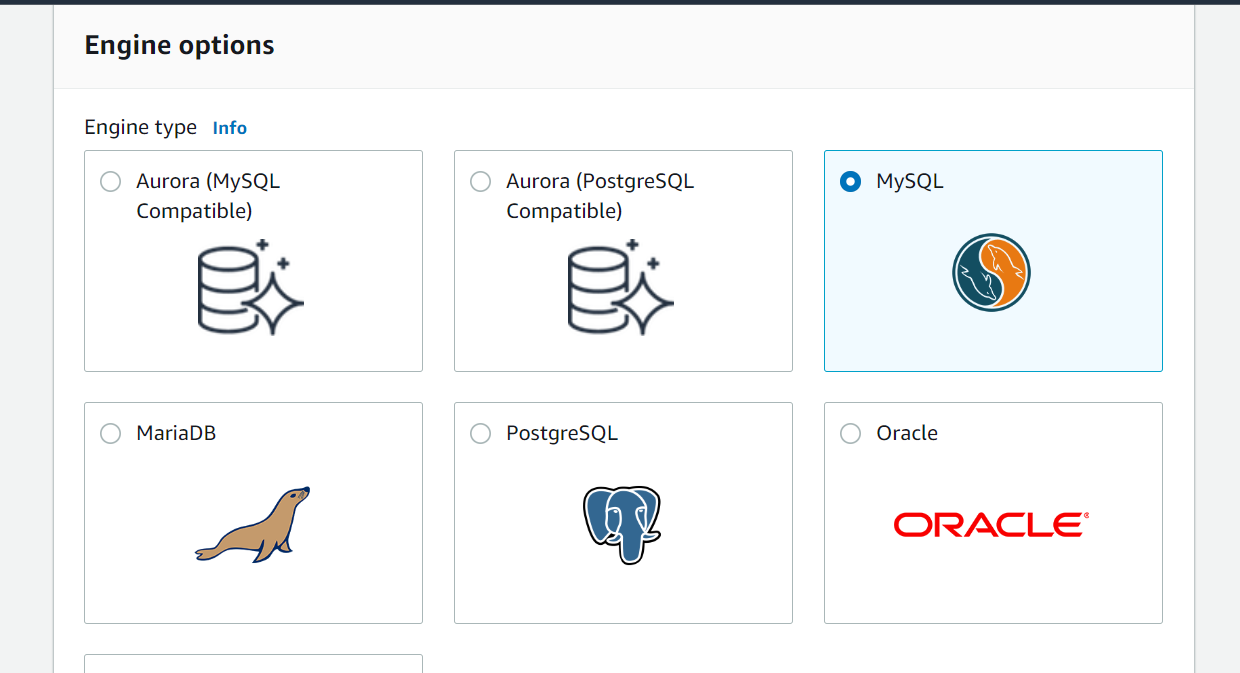
Click on MYSQL
Click on free tier template
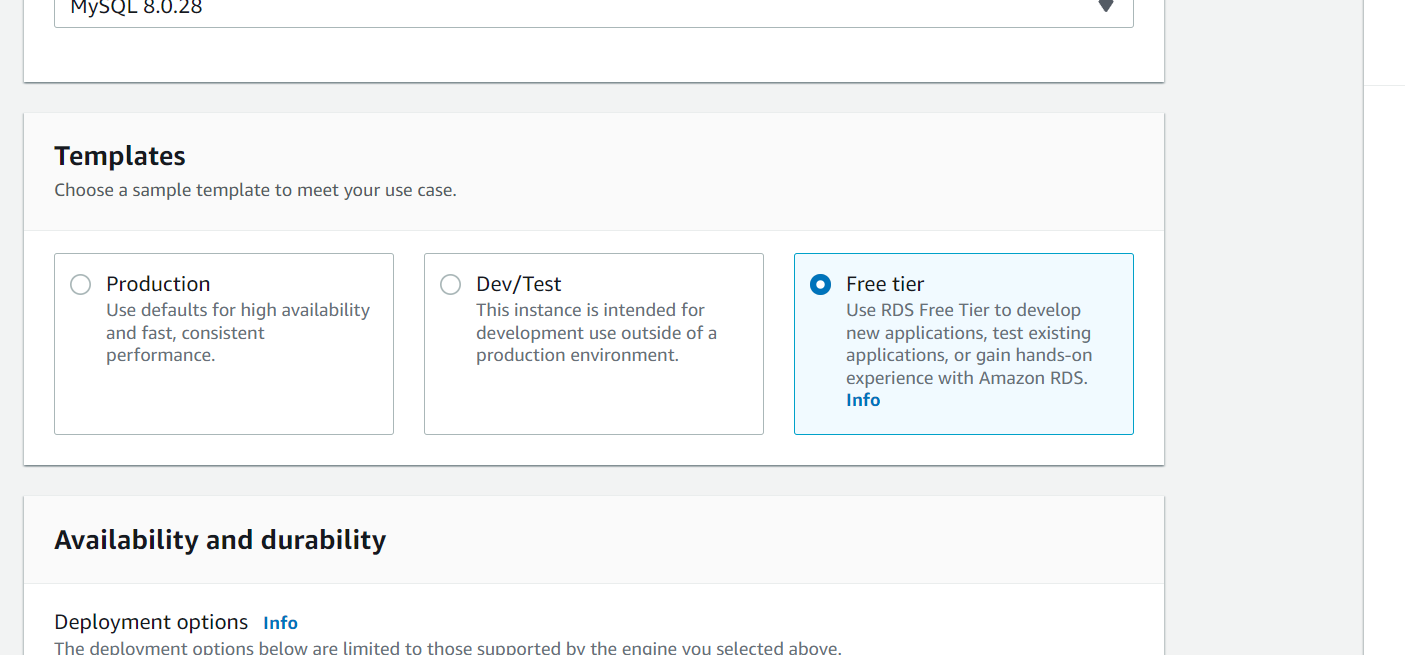
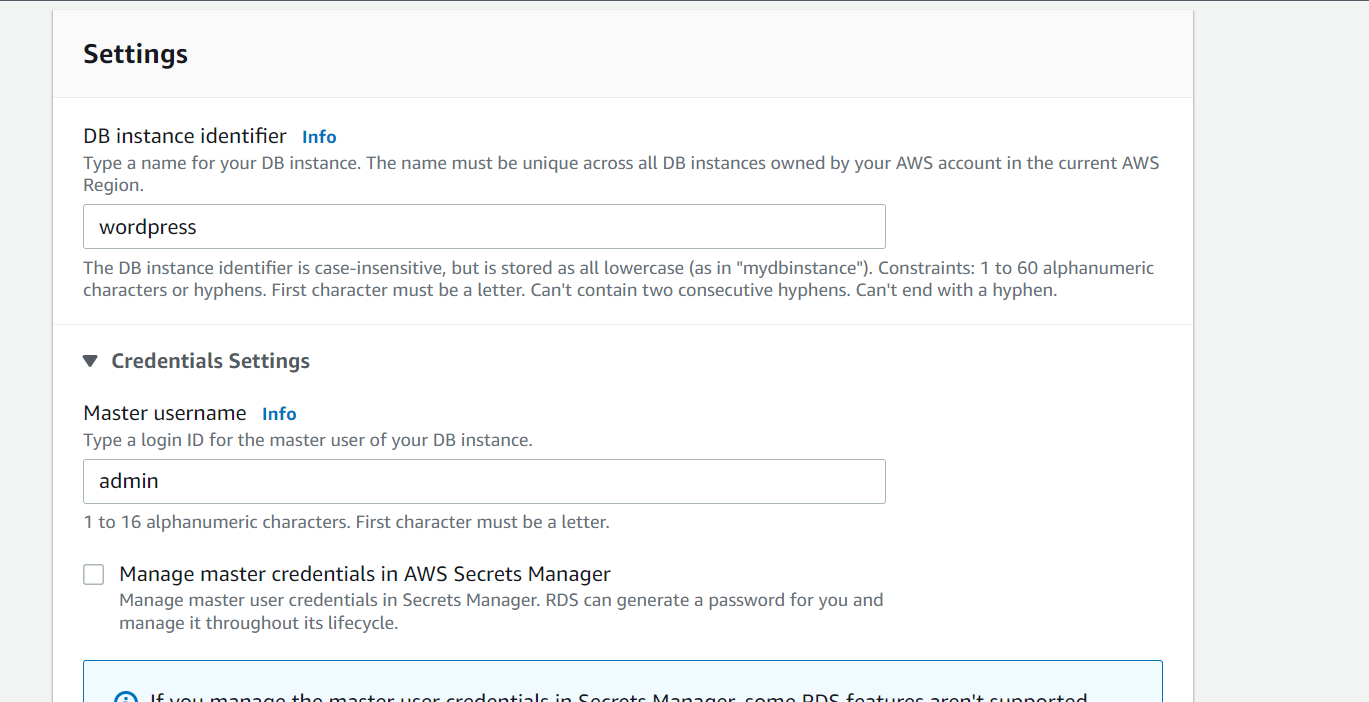
In Settings, enter DB instance Identifier.
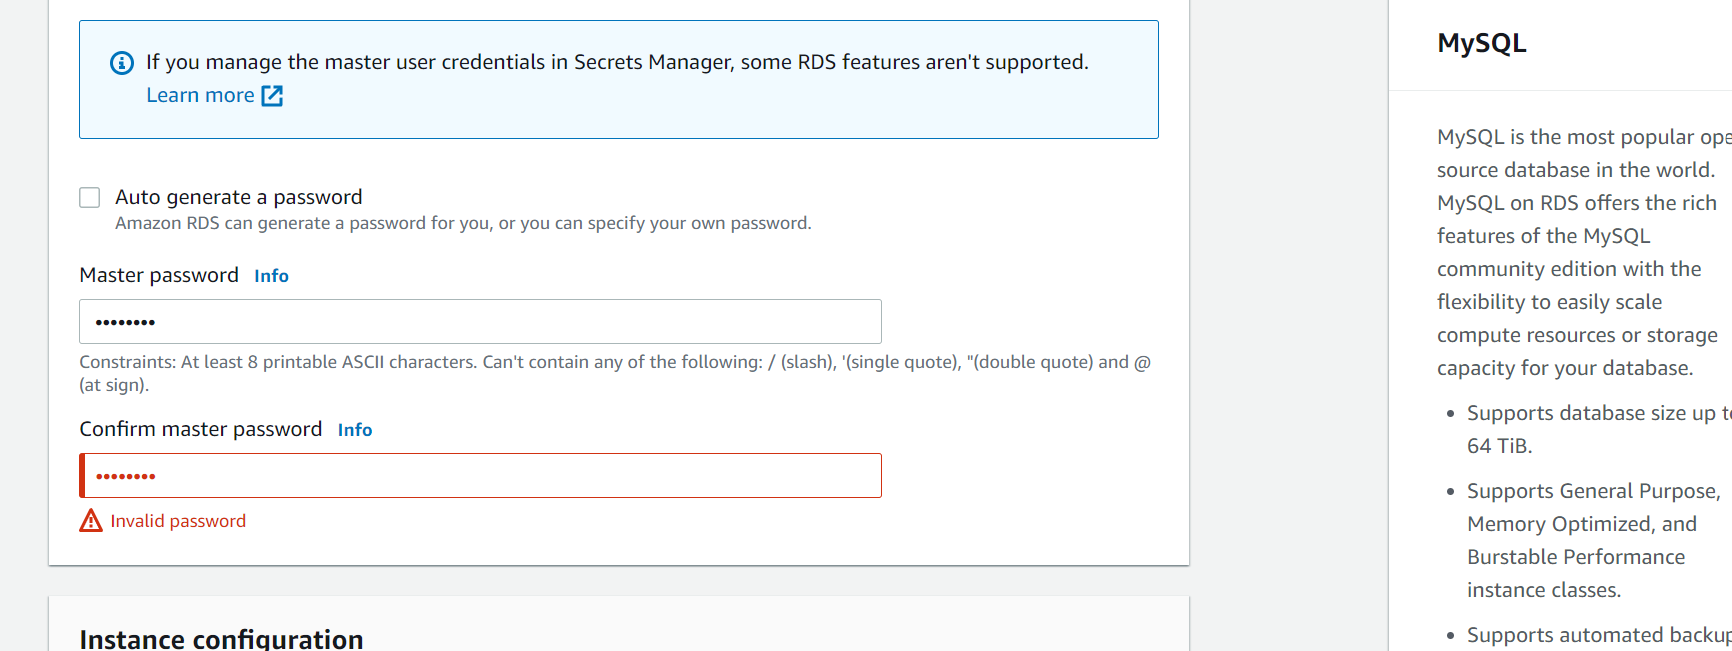
Set your master password and confirm master password
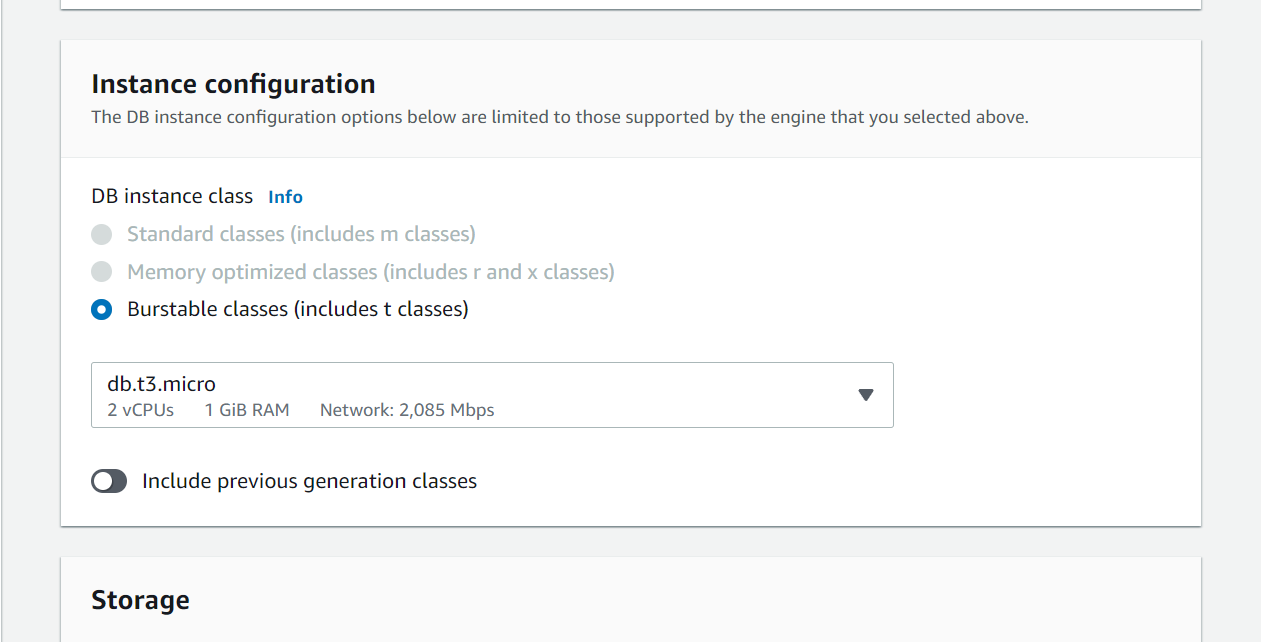
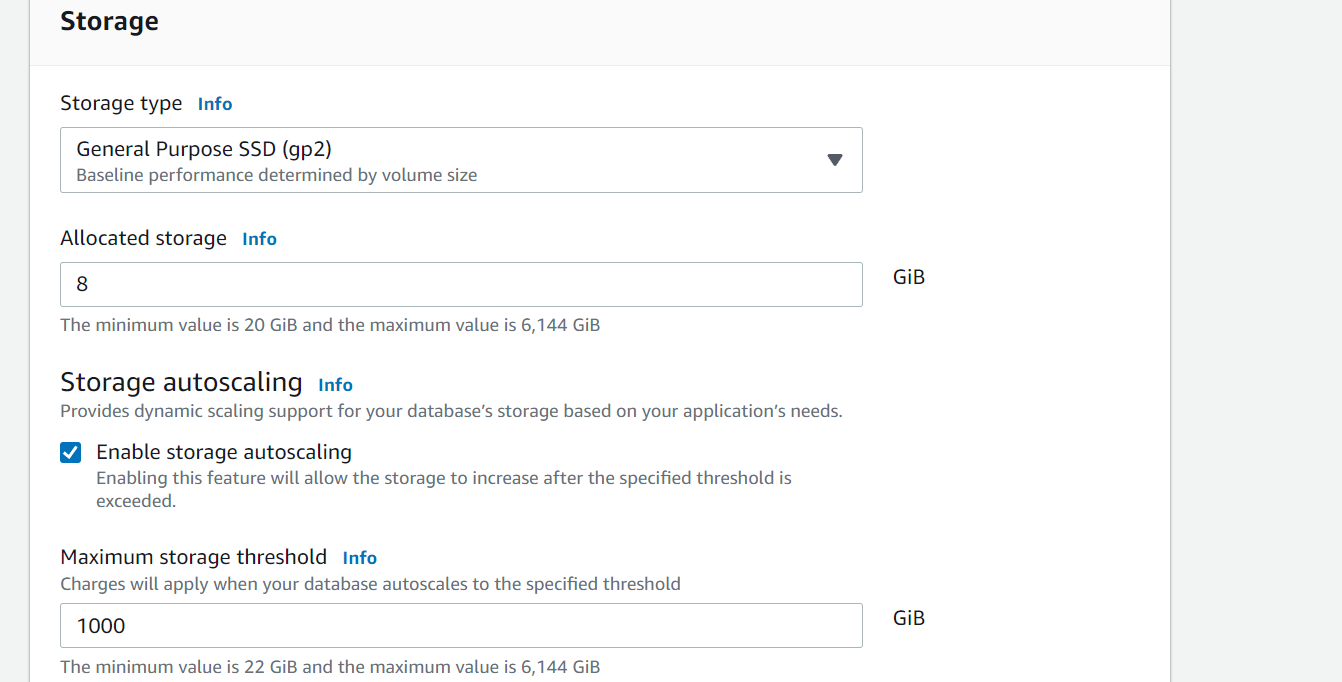
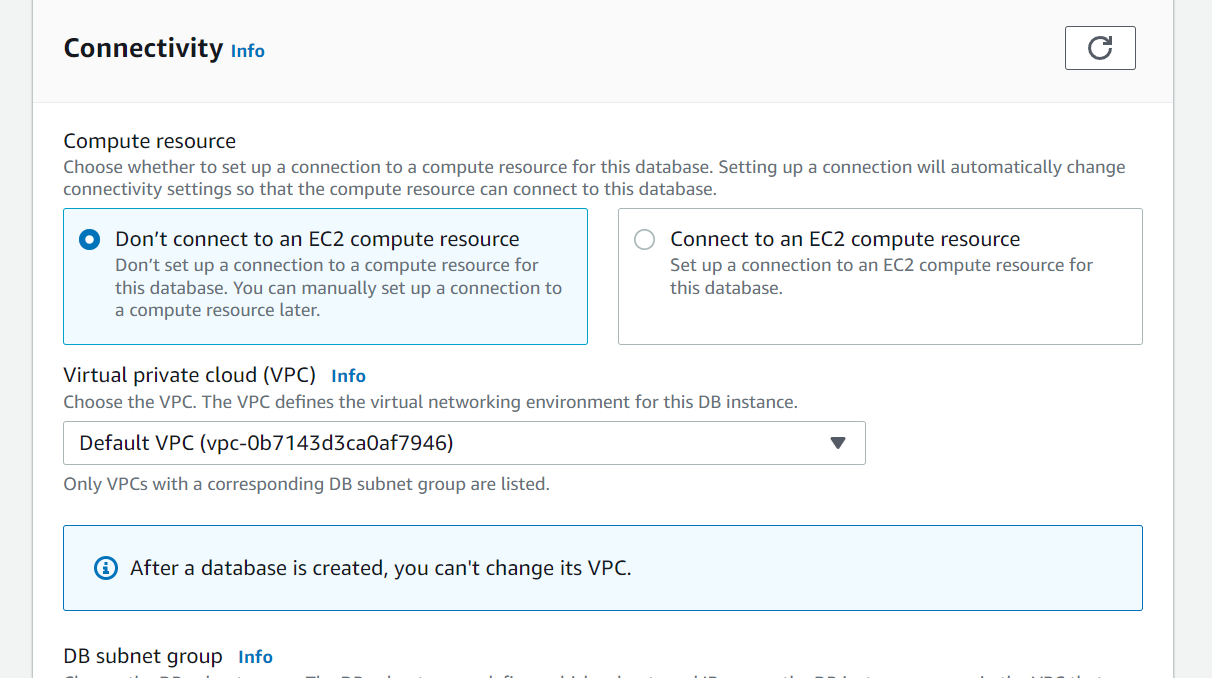
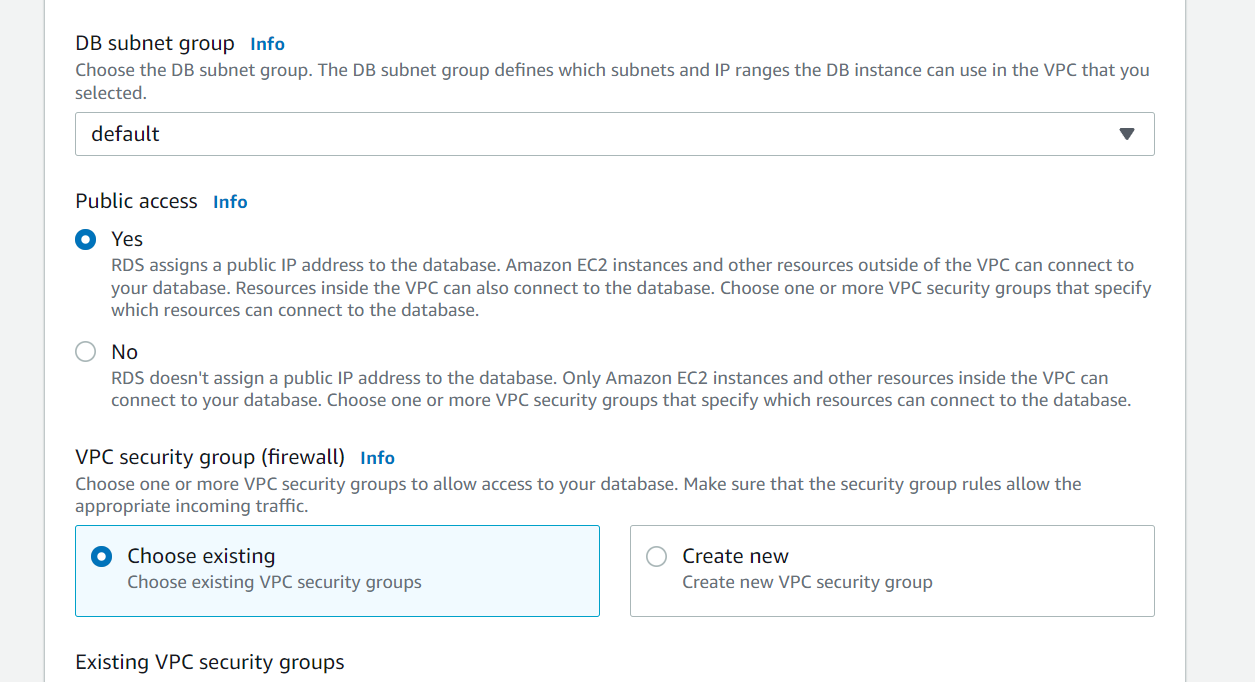
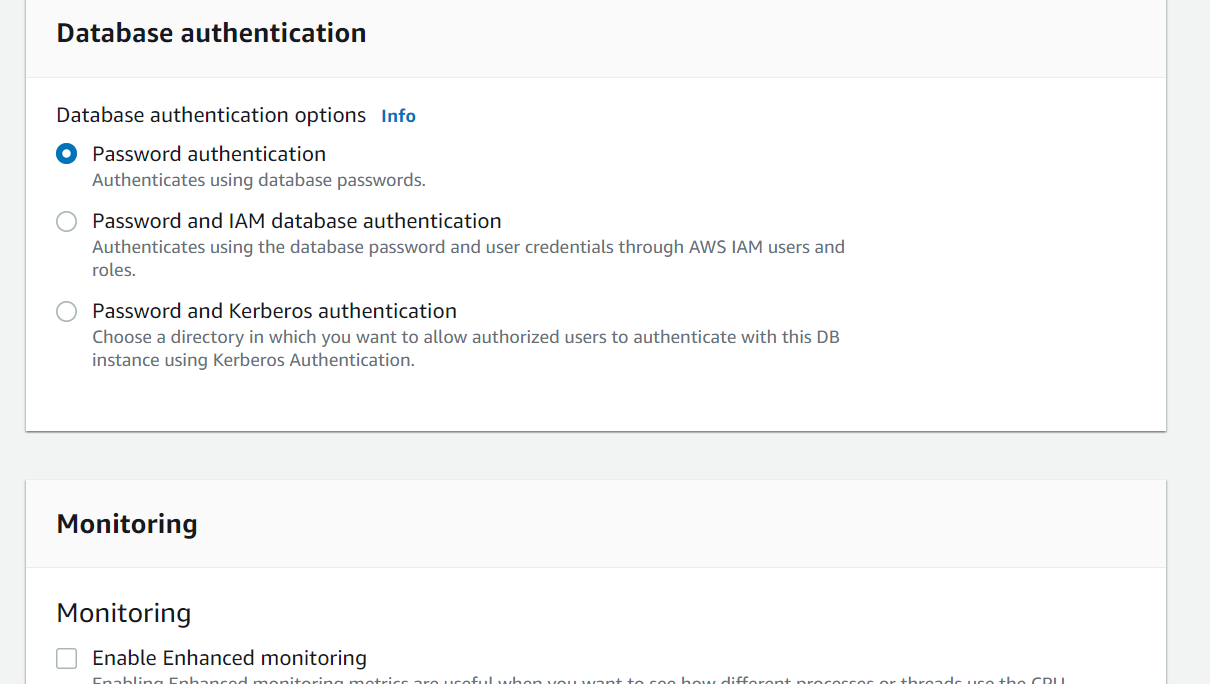
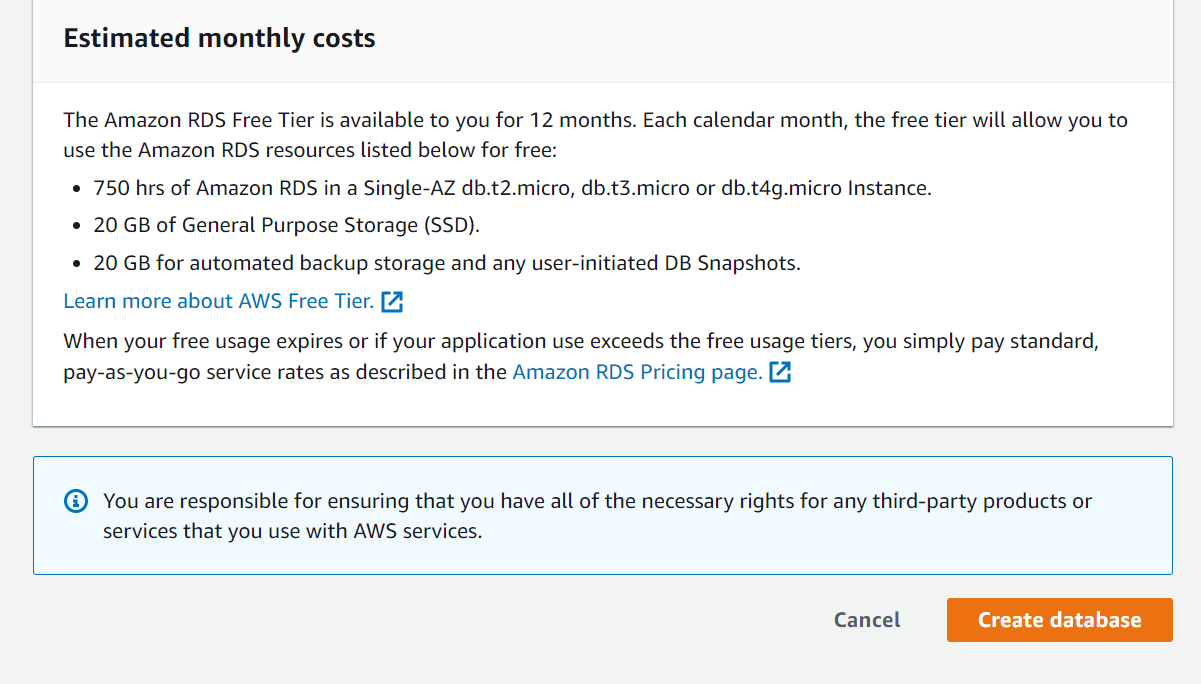
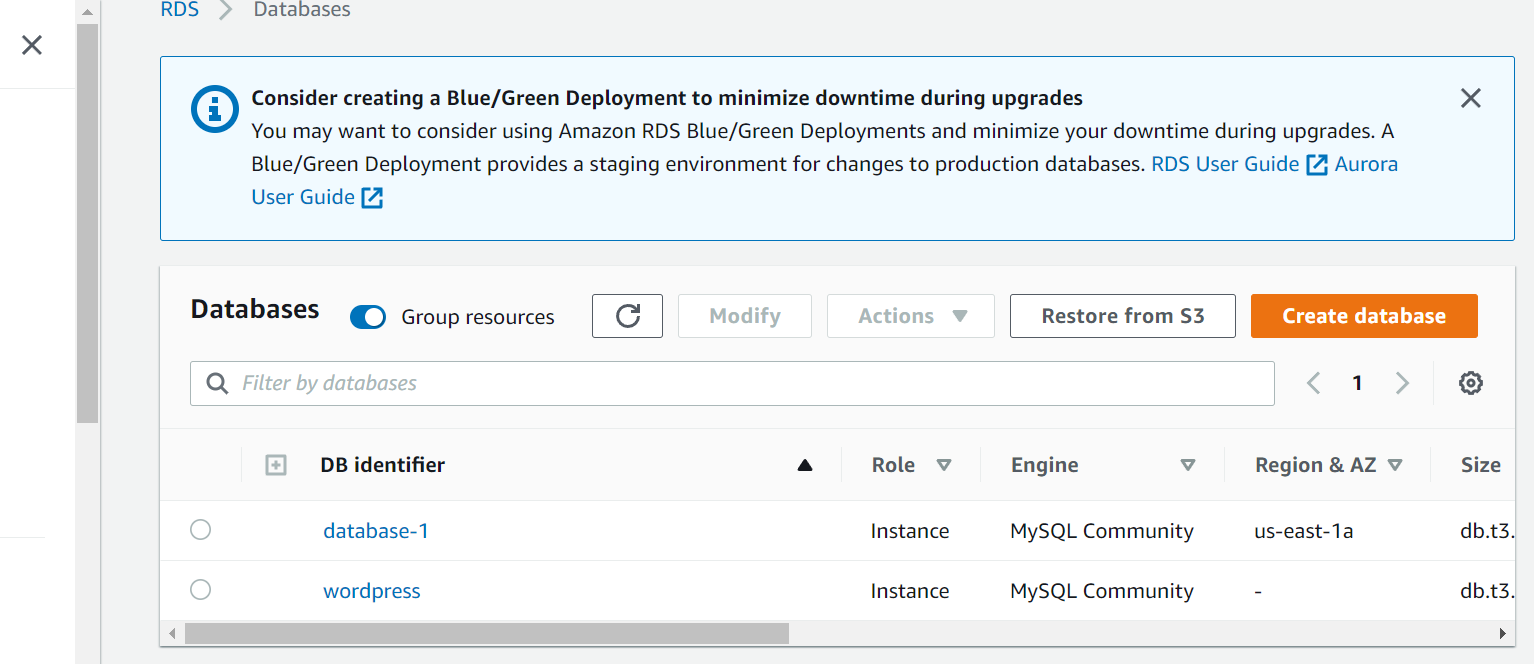
Your Database is created.
To configure this WordPress site, you will create the following resources in AWS:
- An Amazon EC2 instance to install and host the WordPress application.
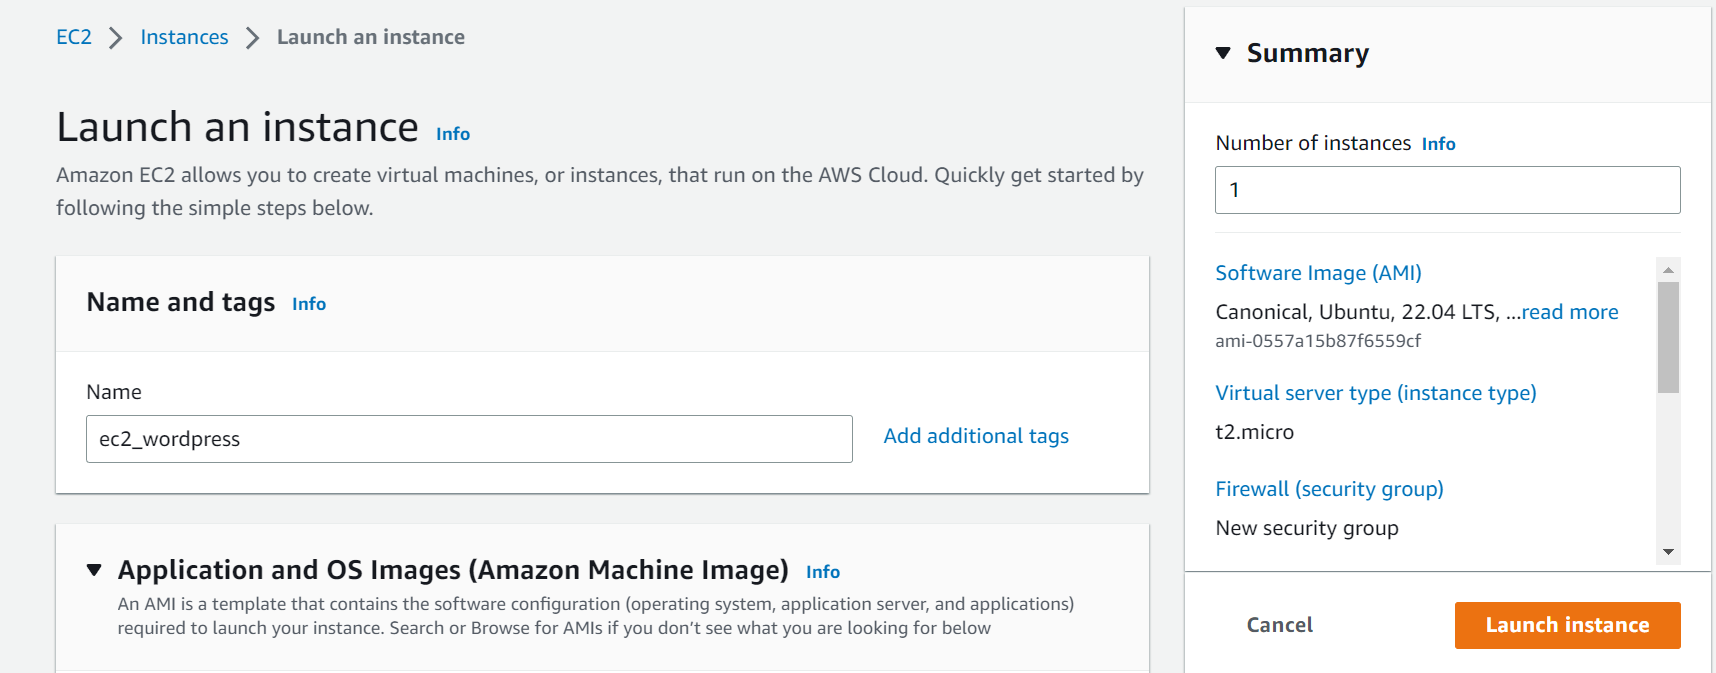
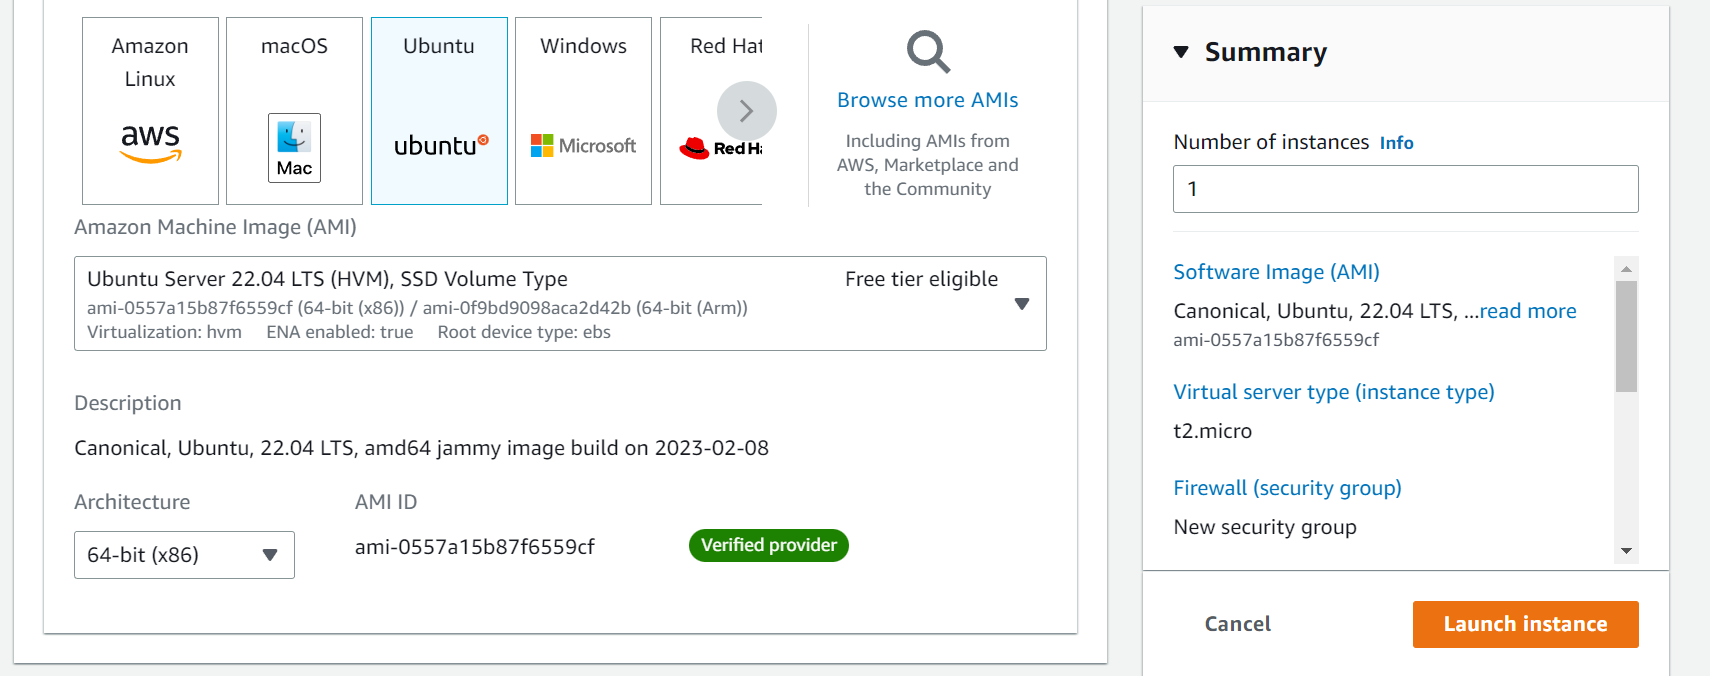
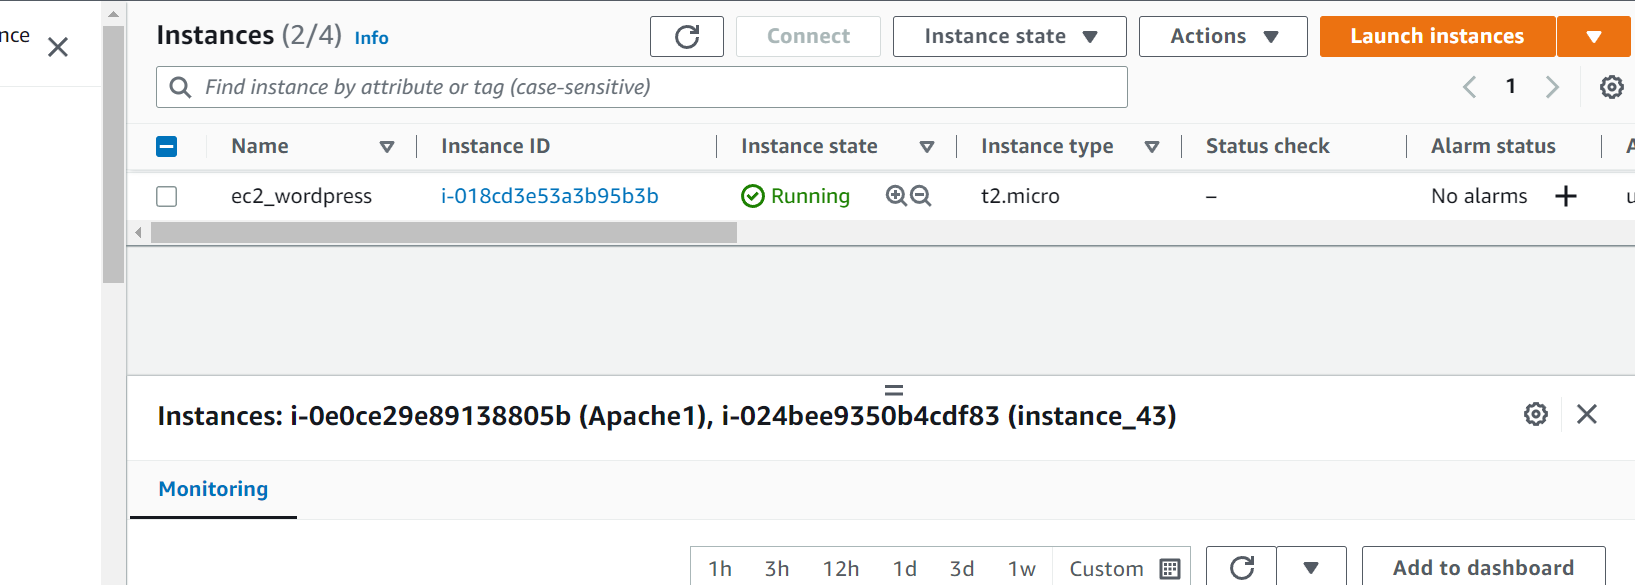
We have to create new EC2 instance then goto EC2 homepage and click on launch instance.
Fill in all mandatory details as shown follow.
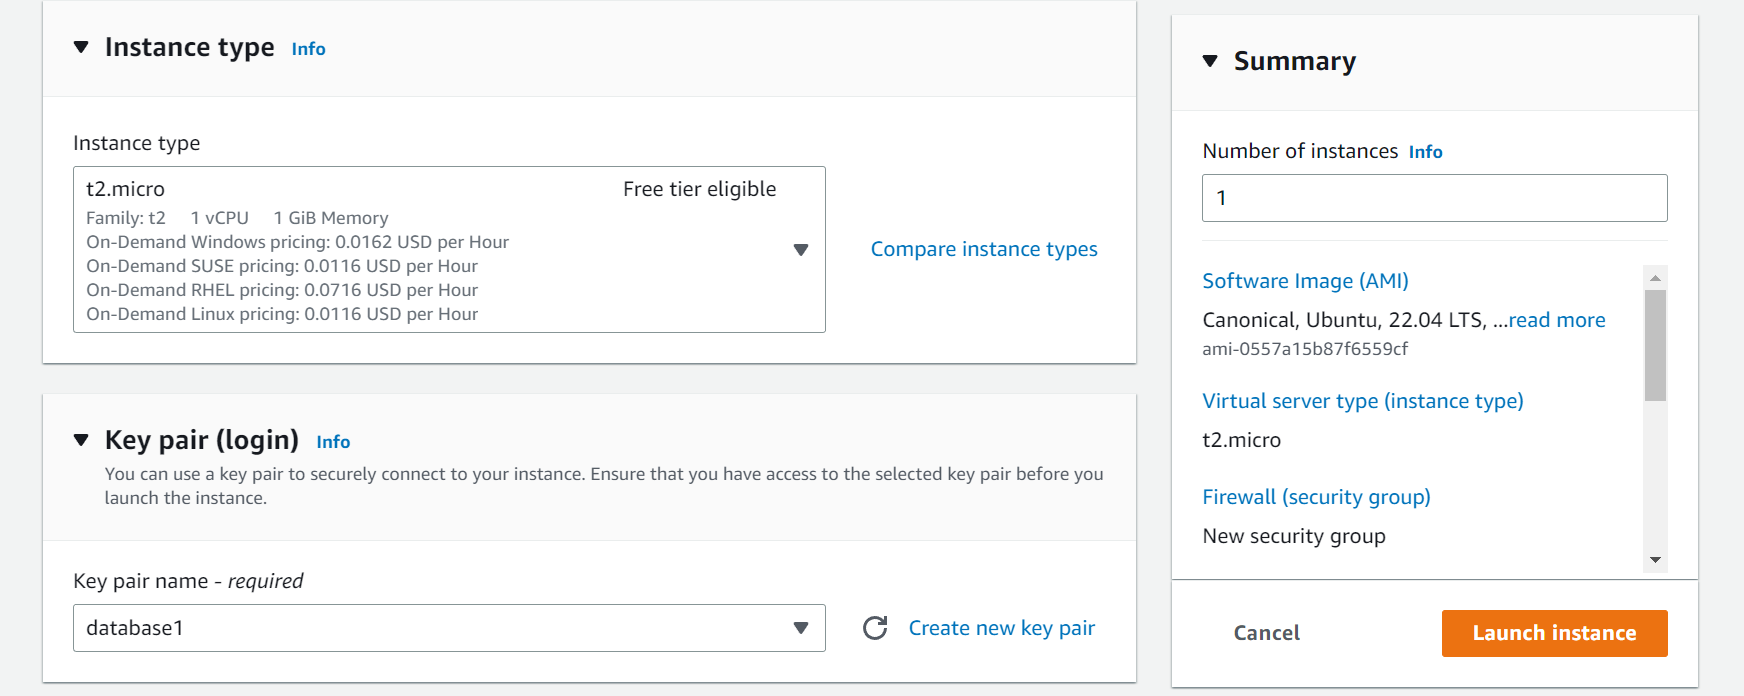
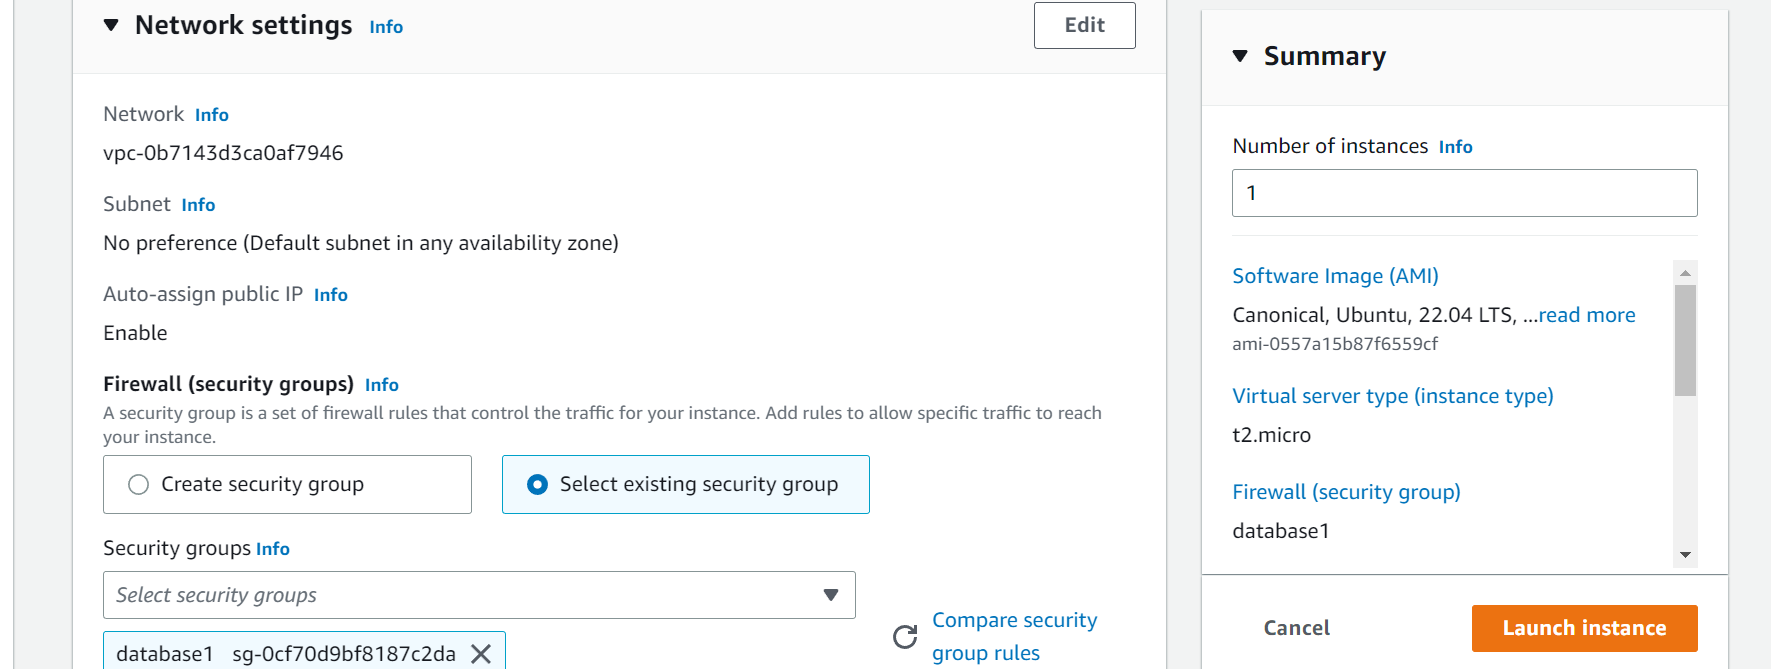
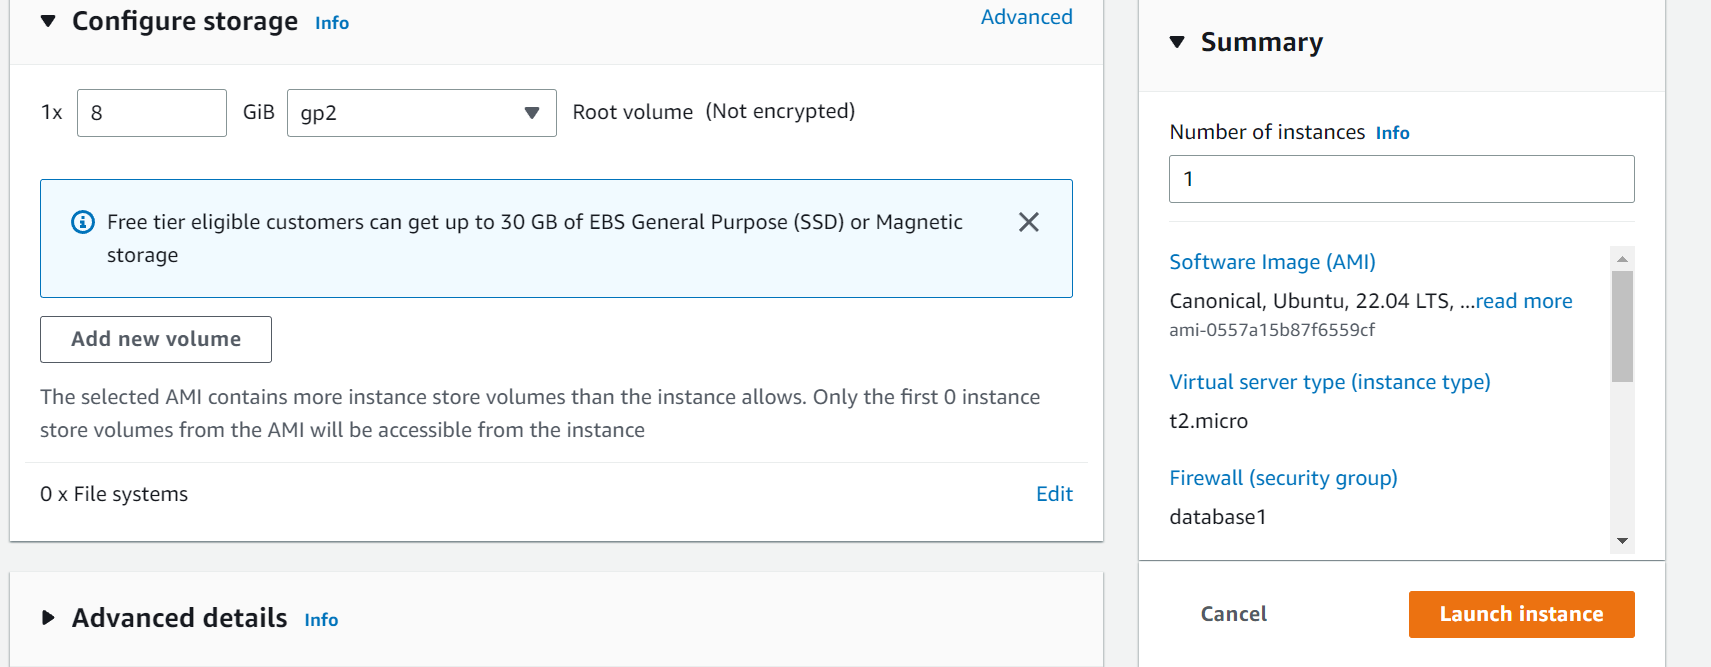
- An Amazon RDS for MySQL database to store your WordPress data.
Configure an Amazon RDS Database. To do this allow your instance to access your amazon rds database .Select WordPress database in RDS.
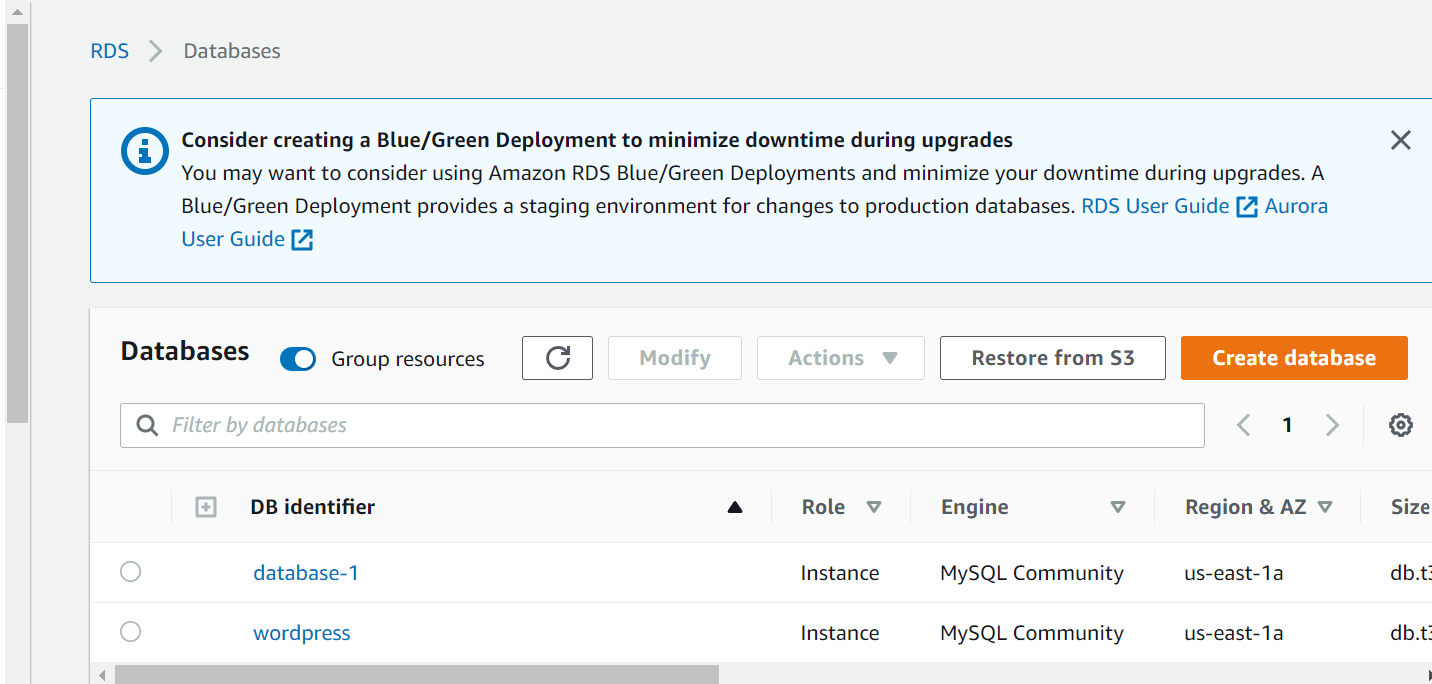
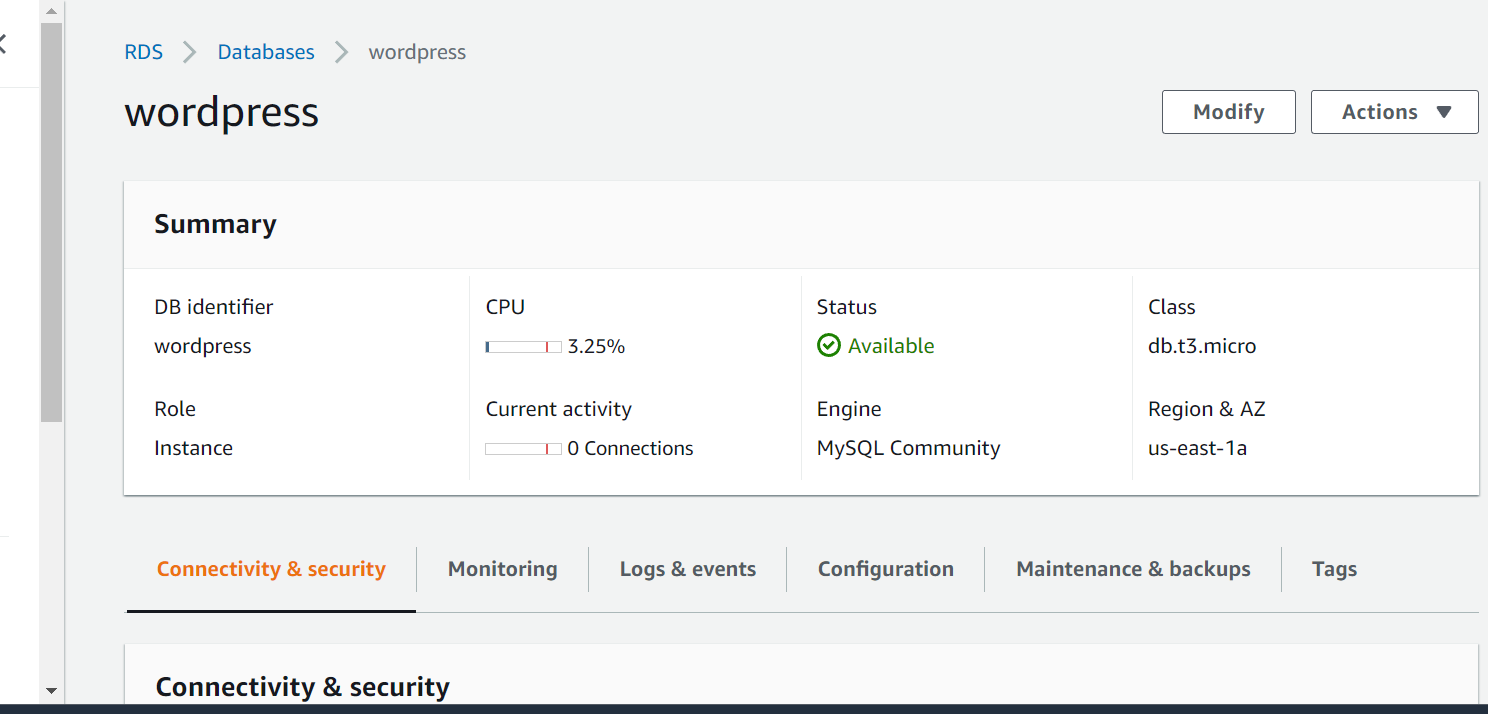
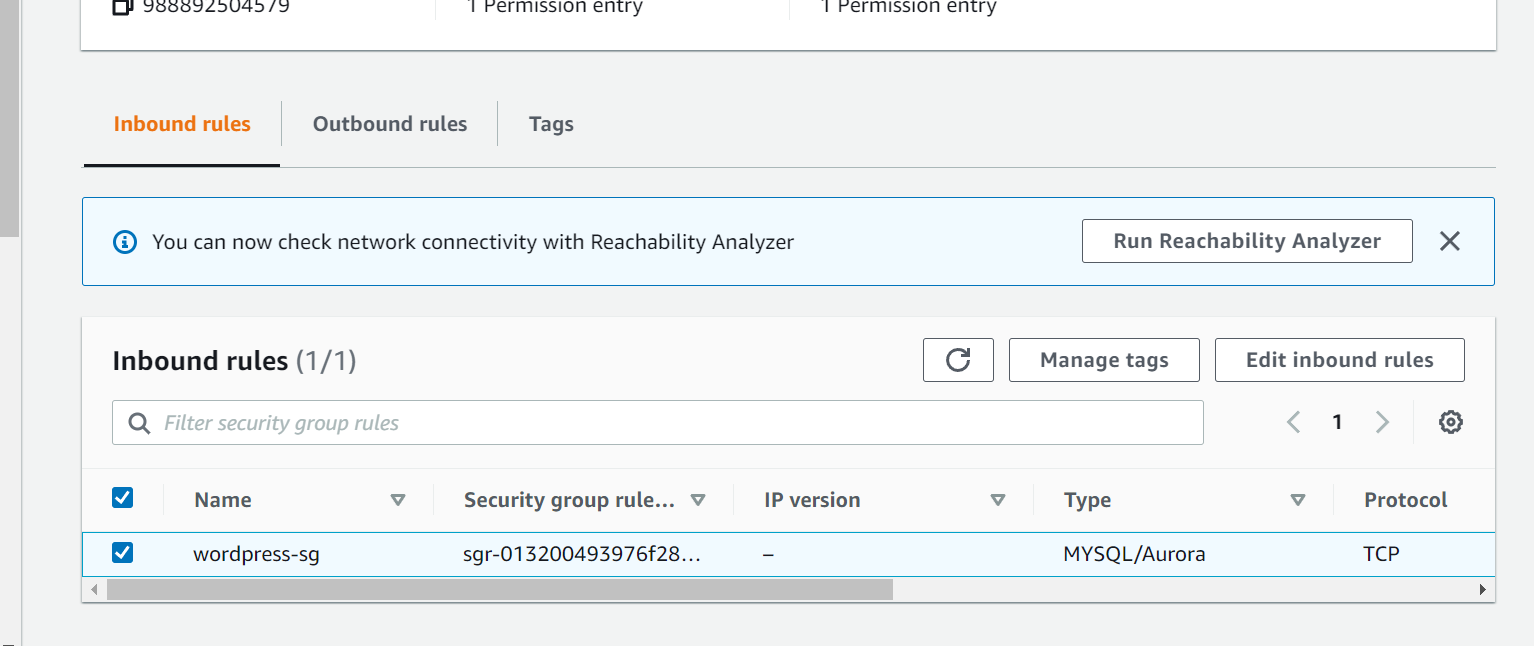
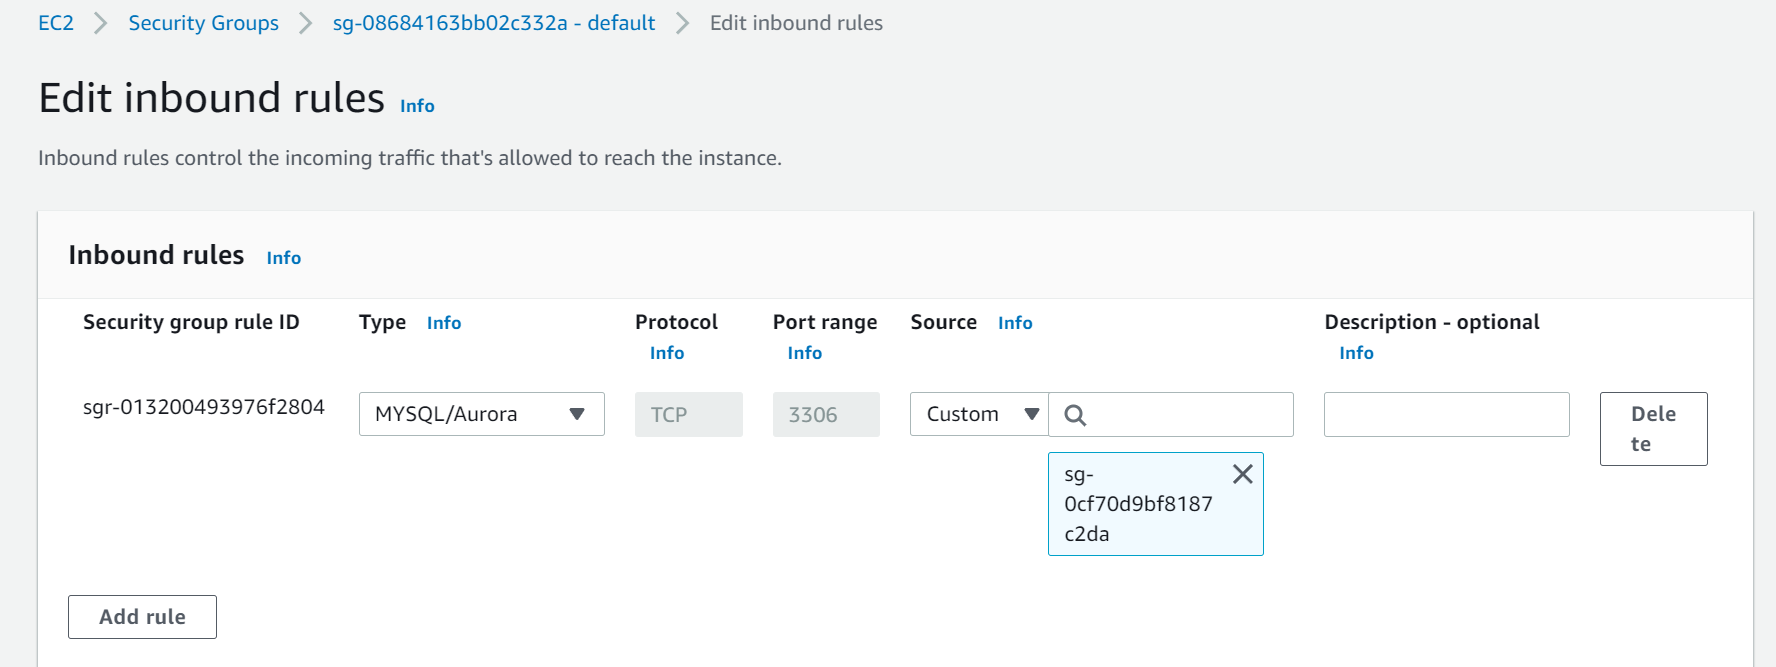
Change security group of your database to that of created instance.
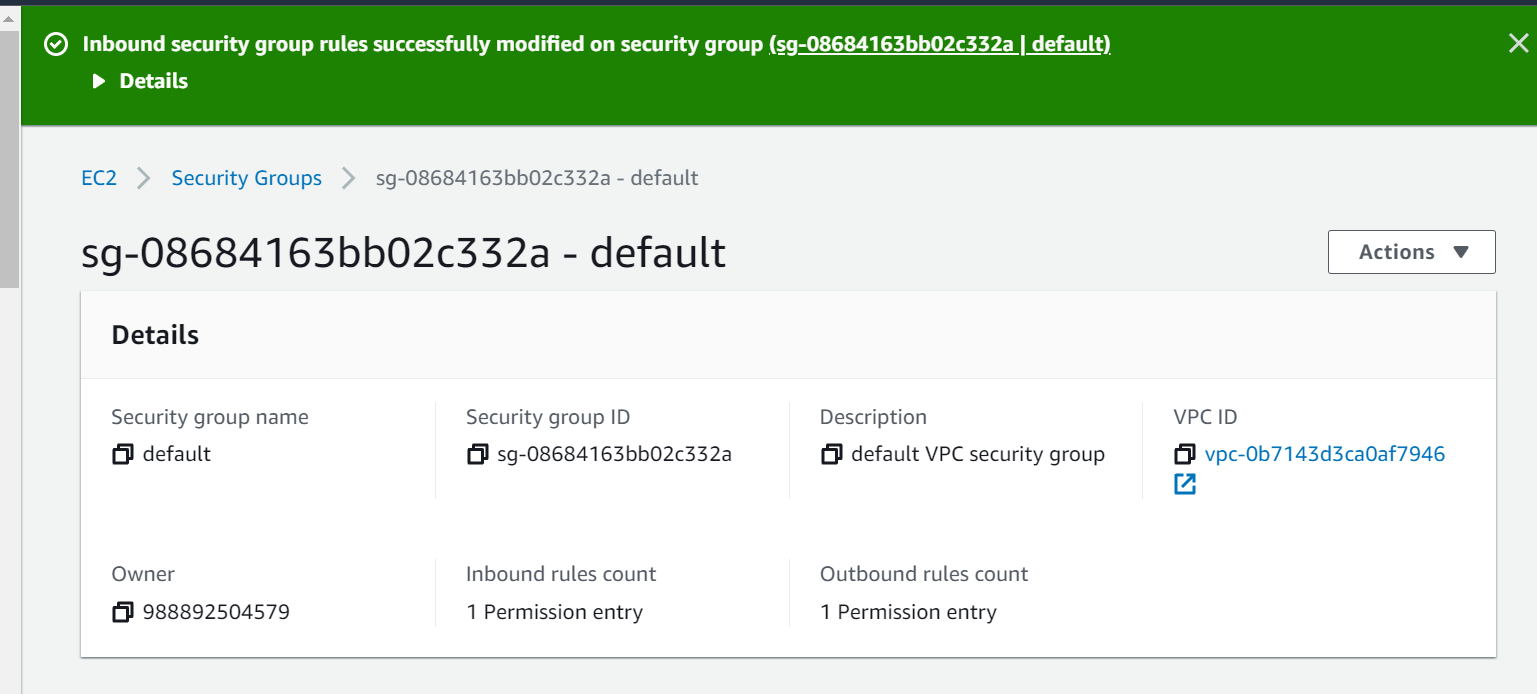
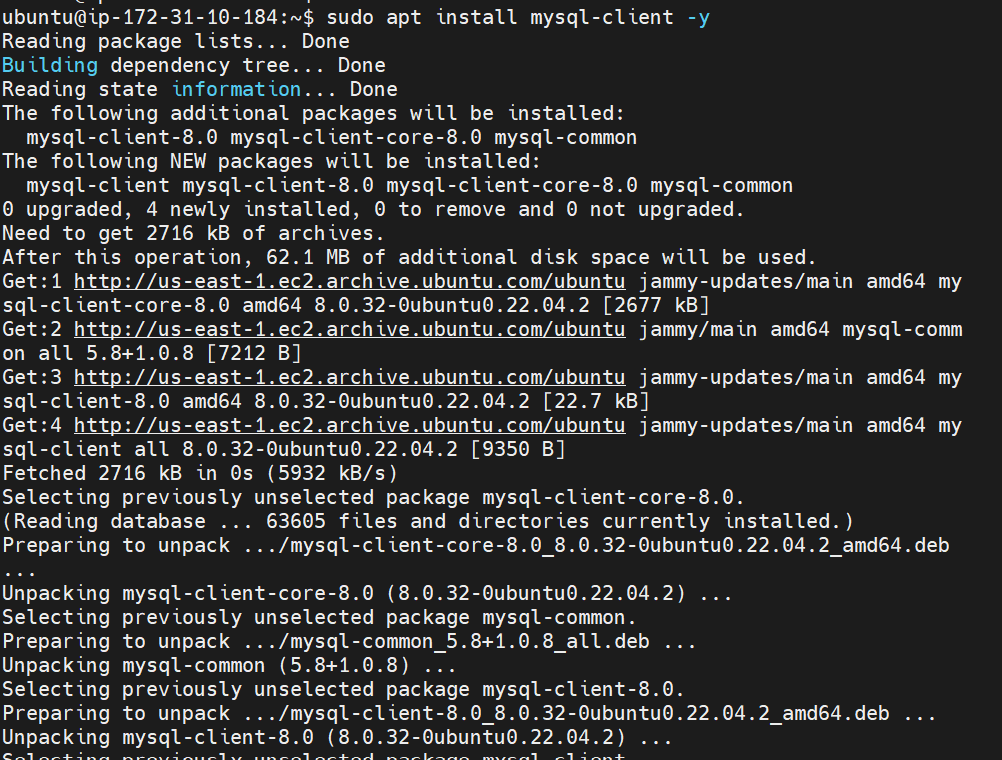
SSH into EC2 instance and create a database user. Fire command sudo apt install mysql-client -y
Now goto ec2 homepage and search RDS click on it and click on database and copy endpoint and port ip .
my endpoint is database-1.cssh2nxkorfq.us-east-1.rds.amazo..
port 3306
command - mysql -h database-1.cssh2nxkorfq.us-east-1.rds.amazonaws.com -P 3306 -u admin -p
-h : host name
-P : port
-u : admin
-p : password
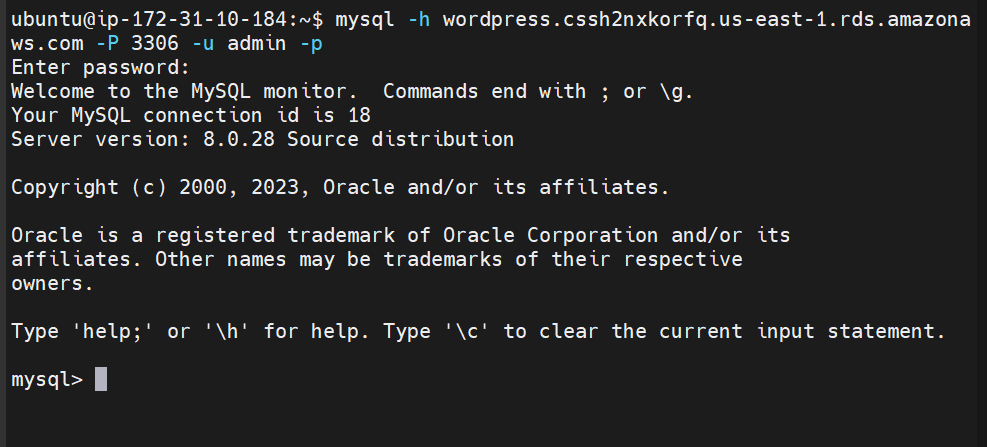
Run the following commands in your terminal:
CREATE USER 'wordpress' IDENTIFIED BY 'wordpress-pass';
GRANT ALL PRIVILEGES ON wordpress.* TO wordpress;
FLUSH PRIVILEGES;
Exit
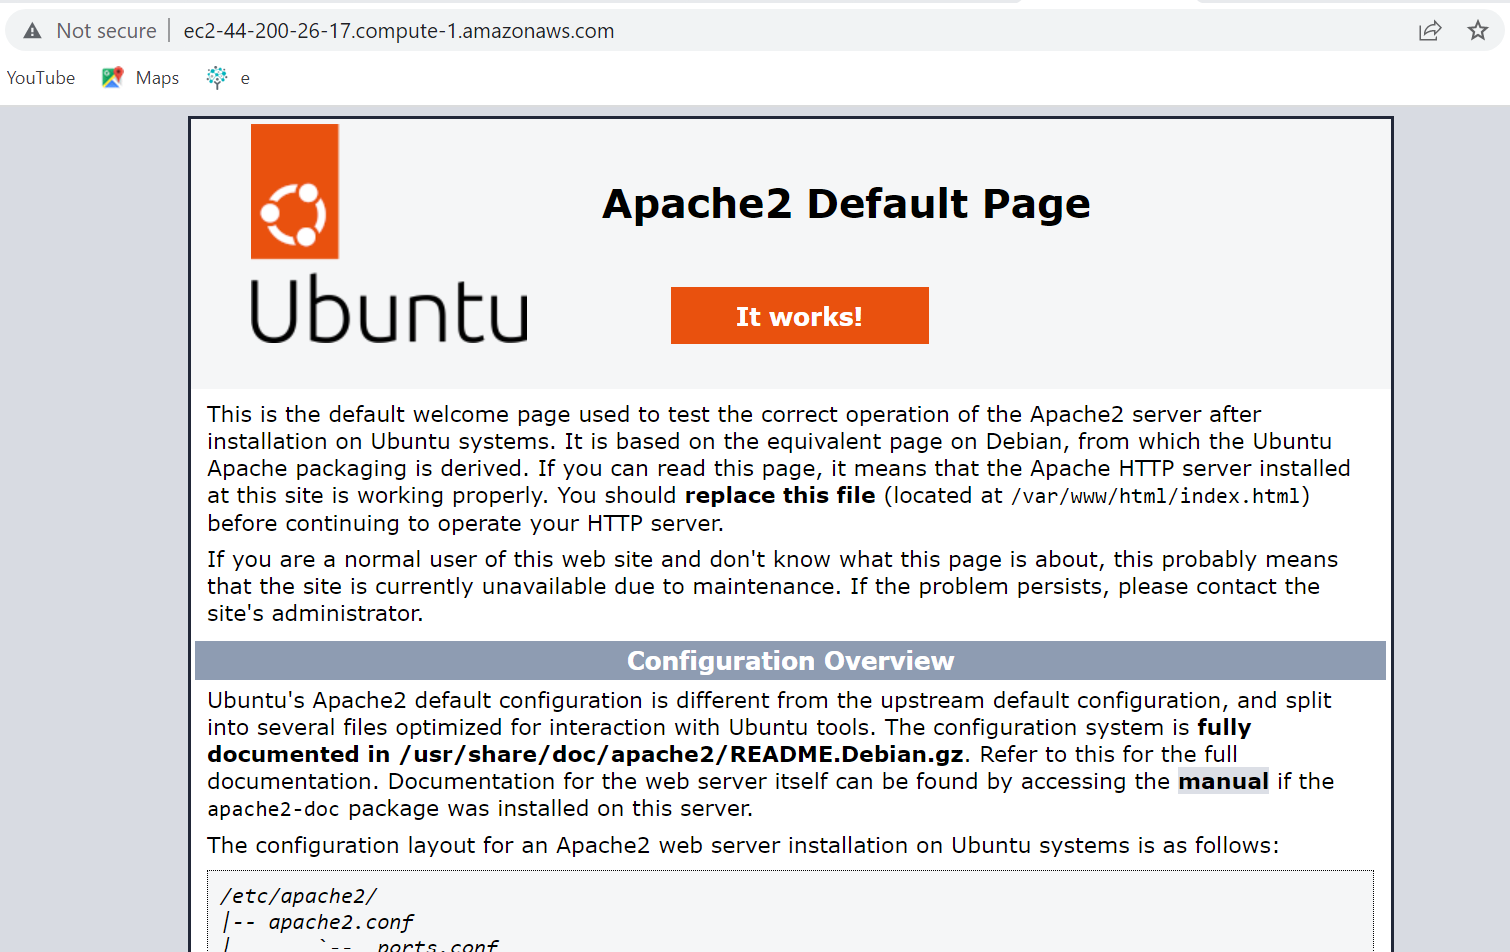
To install Apache on your EC2 instance, run the following command in your terminal:
sudo apt install apache2 -y
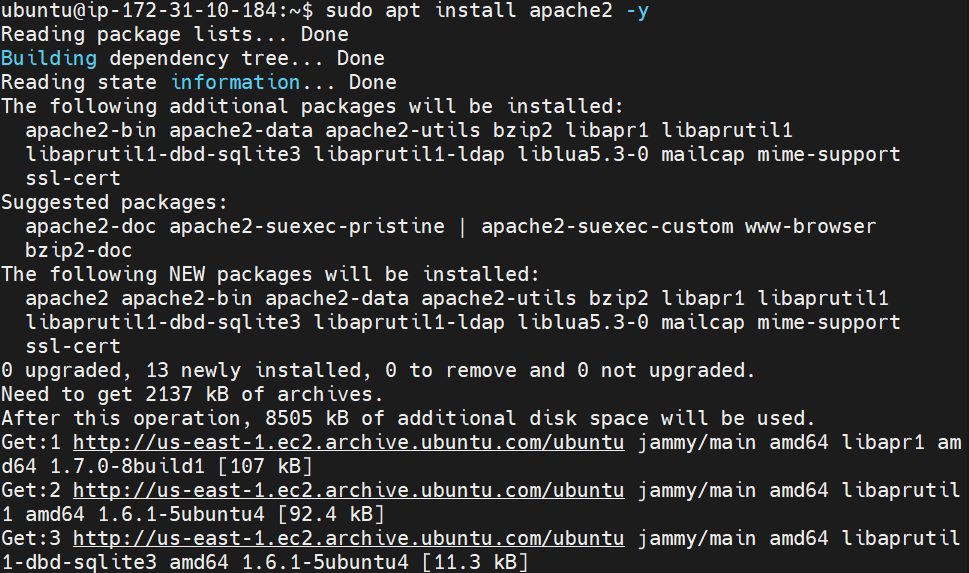
Apache web server will be up and running.
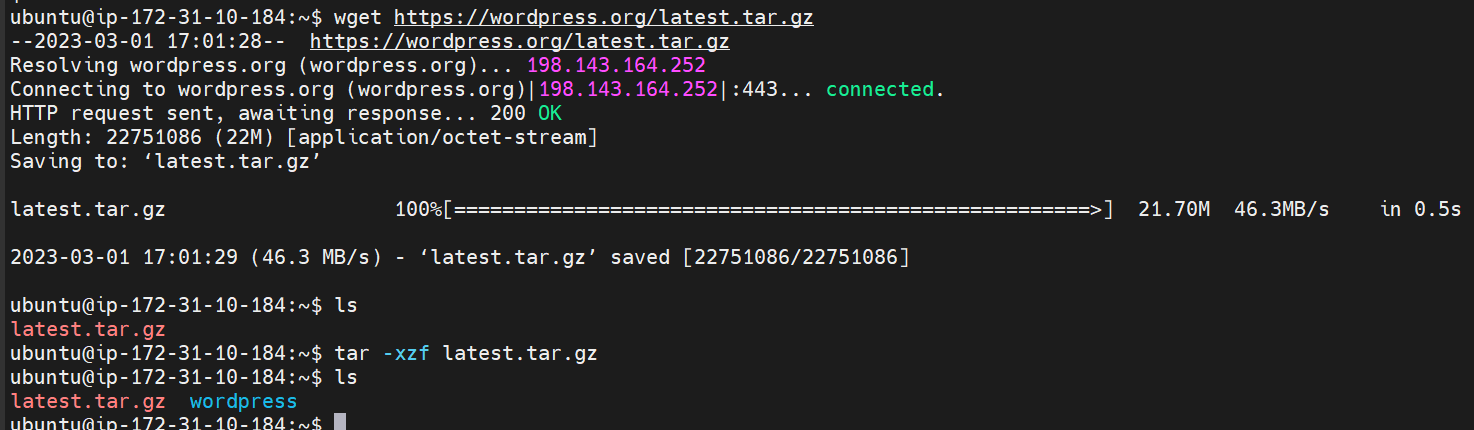
Download and uncompress the software by running the following commands in your terminal:
wget https://wordpress.org/latest.tar.gz
tar -xzf latest.tar.gz
If you run ls to view the contents of your directory, you will see a tar file and a directory called wordpress with the uncompressed contents.
Change the directory to the wordpress directory and create a copy of the default config file using the following commands:
cd wordpress
cp wp-config-sample.php wp-config.php

open the wp-config.php file using the nano editor by running the following command.
nano wp-config.php
You need to edit two areas of configuration.
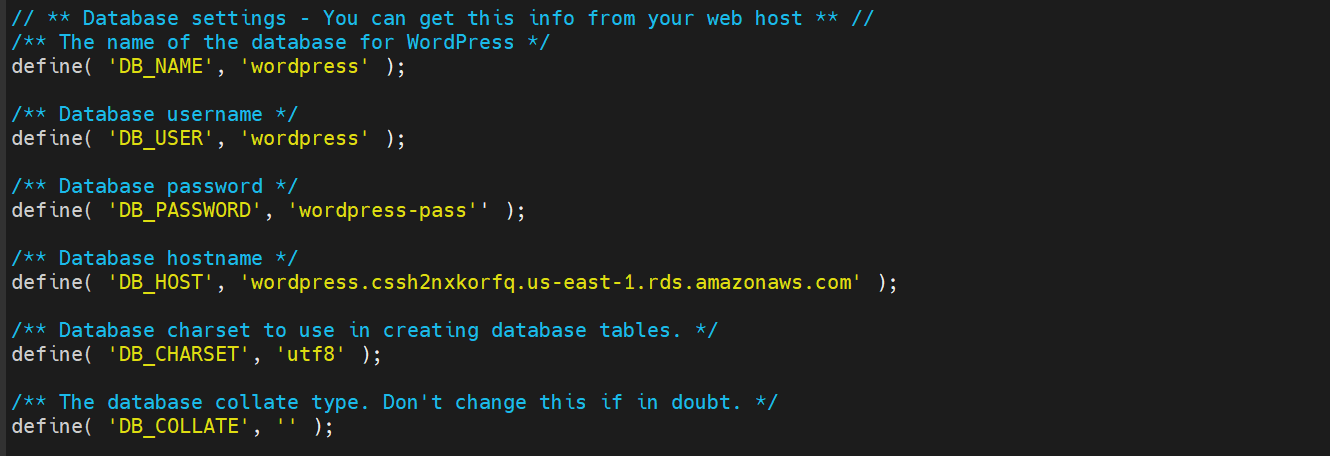
First, edit the database configuration by changing the following lines:
COPY
COPY
COPY
// ** MySQL settings - You can get this info from your web host ** //
/** The name of the database for WordPress */
define( 'DB_NAME', 'database_name_here' );

/** MySQL database username */
define( 'DB_USER', 'username_here' );

/** MySQL database password */
define( 'DB_PASSWORD', 'password_here' );

/** MySQL hostname */
define( 'DB_HOST', 'localhost' );
The values should be:
DB_NAME: “wordpress”
DB_USER: The name of the user you created in the database in the previous module
DB_PASSWORD: The password for the user you created in the previous module
DB_HOST: The hostname of the database that you found in the previous module
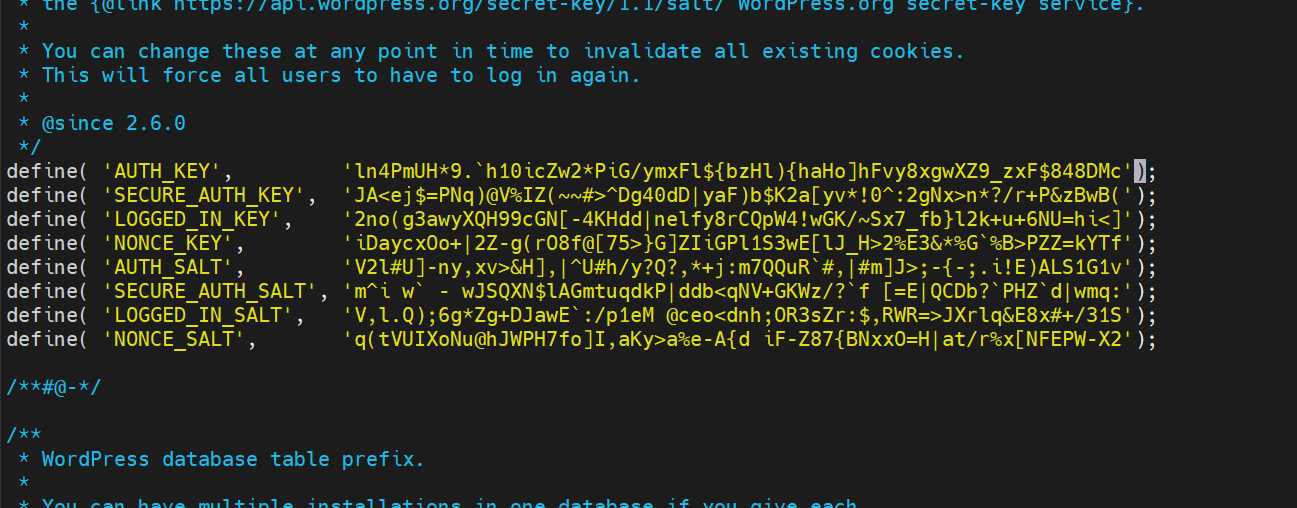
The second configuration section you need to configure is the Authentication Unique Keys and Salts. It looks as follows in the configuration file:
/**#@+ * Authentication Unique Keys and Salts. * * Change these to different unique phrases! * You can generate these using the {@link https://api.wordpress.org/secret-key/1.1/salt/ WordPress.org secret-key service} * You can change these at any point in time to invalidate all existing cookies. This will force all users to have to log in again. * * @since 2.6.0 */ define( 'AUTH_KEY', 'put your unique phrase here' ); define( 'SECURE_AUTH_KEY', 'put your unique phrase here' ); define( 'LOGGED_IN_KEY', 'put your unique phrase here' ); define( 'NONCE_KEY', 'put your unique phrase here' ); define( 'AUTH_SALT', 'put your unique phrase here' ); define( 'SECURE_AUTH_SALT', 'put your unique phrase here' ); define( 'LOGGED_IN_SALT', 'put your unique phrase here' ); define( 'NONCE_SALT', 'put your unique phrase here' );
Go to this link to generate values for this configuration section. You can replace the entire content in that section with the content from the link.
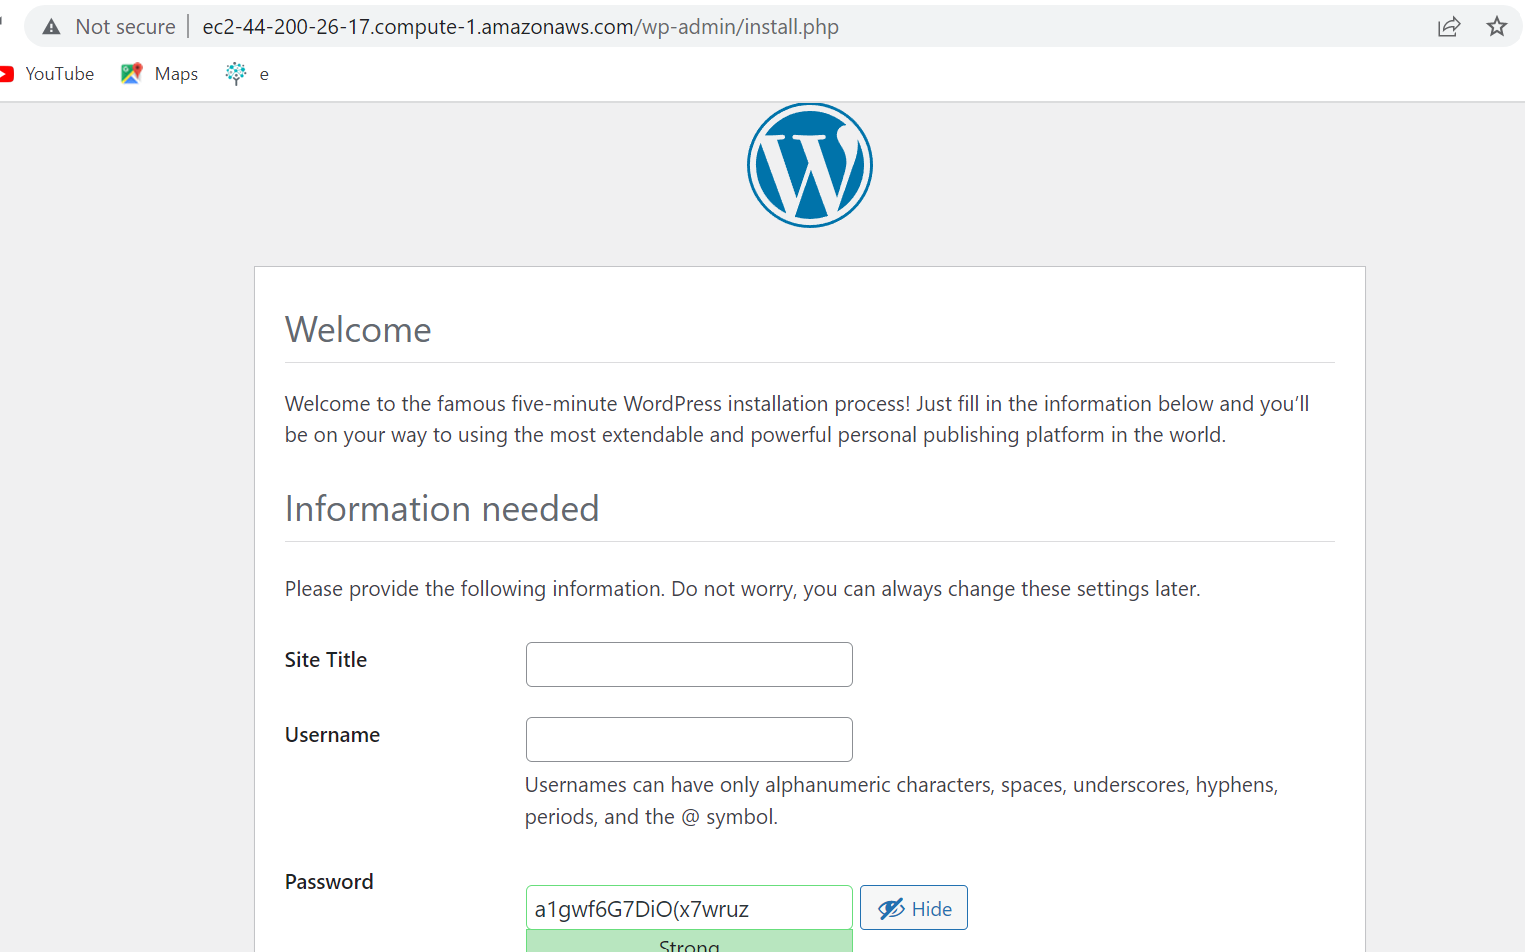
You should see the WordPress welcome page to using command:
<Public_IP_Instance>/wp-admin/