Day #53:CI/CD pipeline on AWS - Part 4
Navigate to the CodePipeline section in the AWS management console.
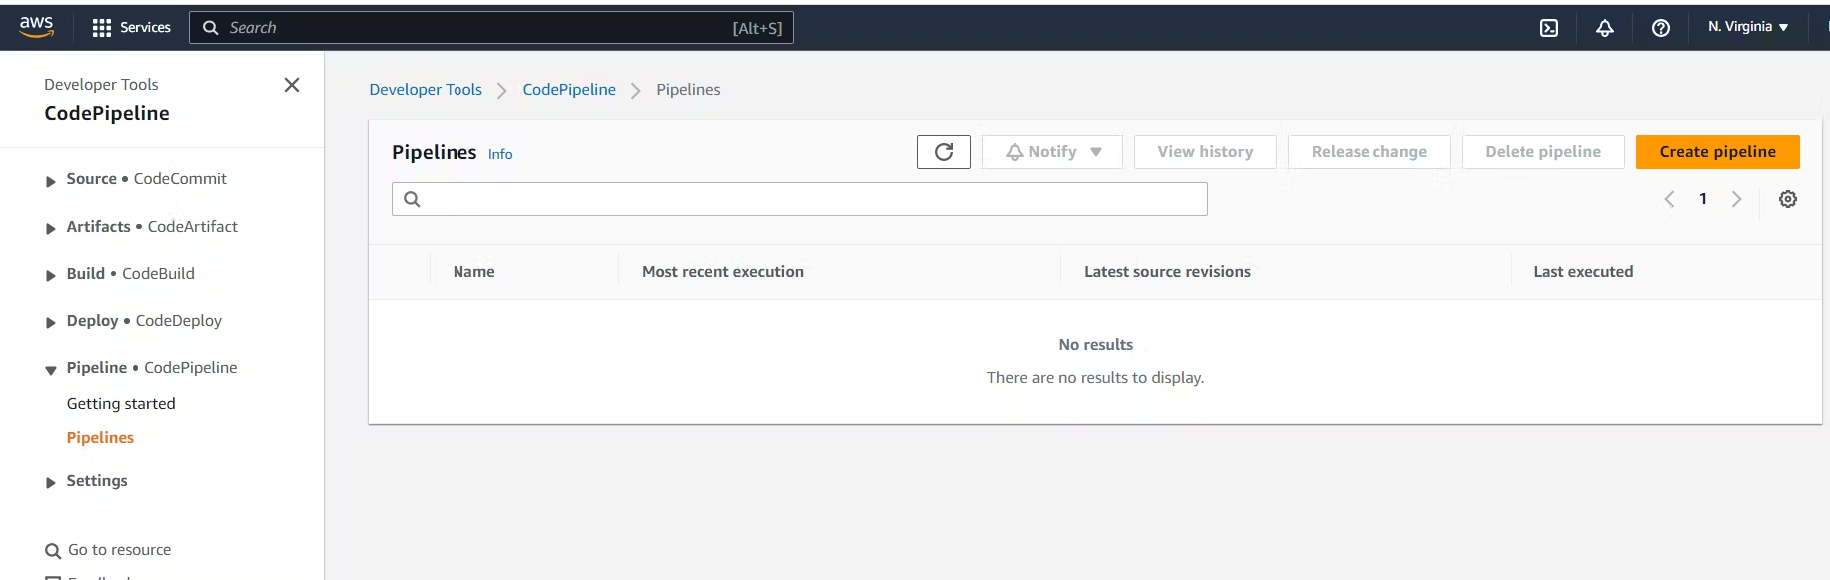
Provide the Pipeline naming details and let the service role to be default.

Provide the Code repository details. In our case, we have our code in webapp folder in CodeCommit repository. Choose AWS CodePipeline to automatically execute the pipeline in case of any changes in the code automatically.

Now add the Build stage details. Select the build provider and give the project name.

Now add the deploy stage. Select the provider and name of the already created application and deployment group.

Now verify the details and create the code pipeline.

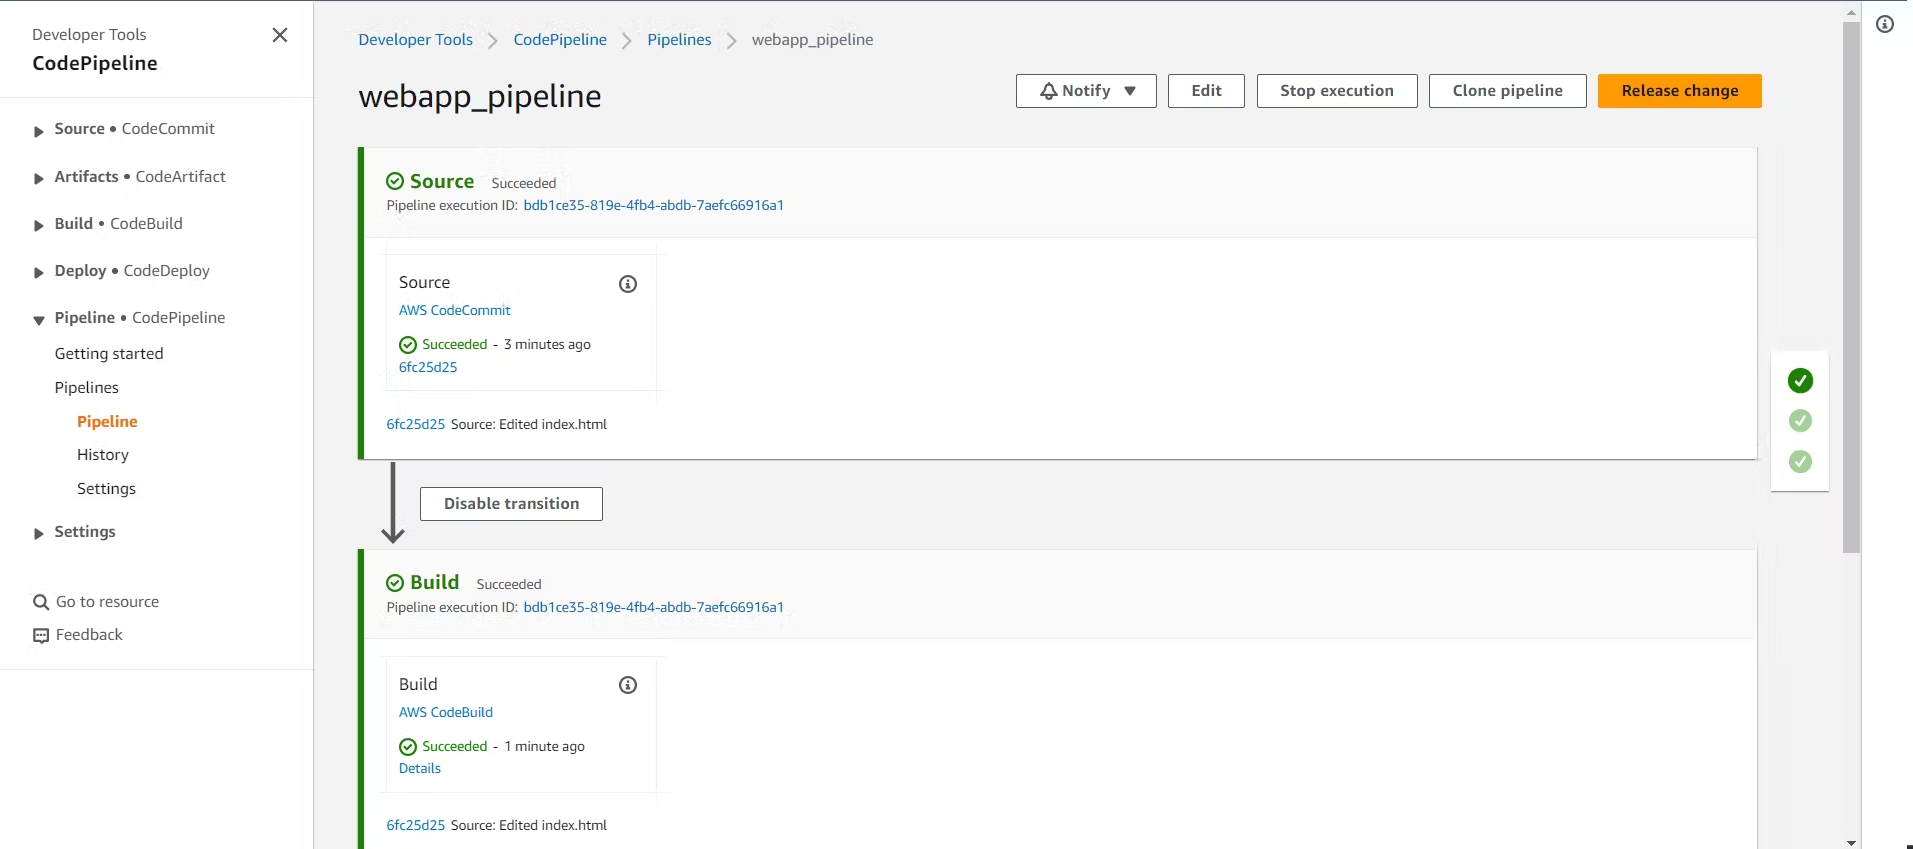
The pipeline will now fetch the code from the CodeCommit repository.
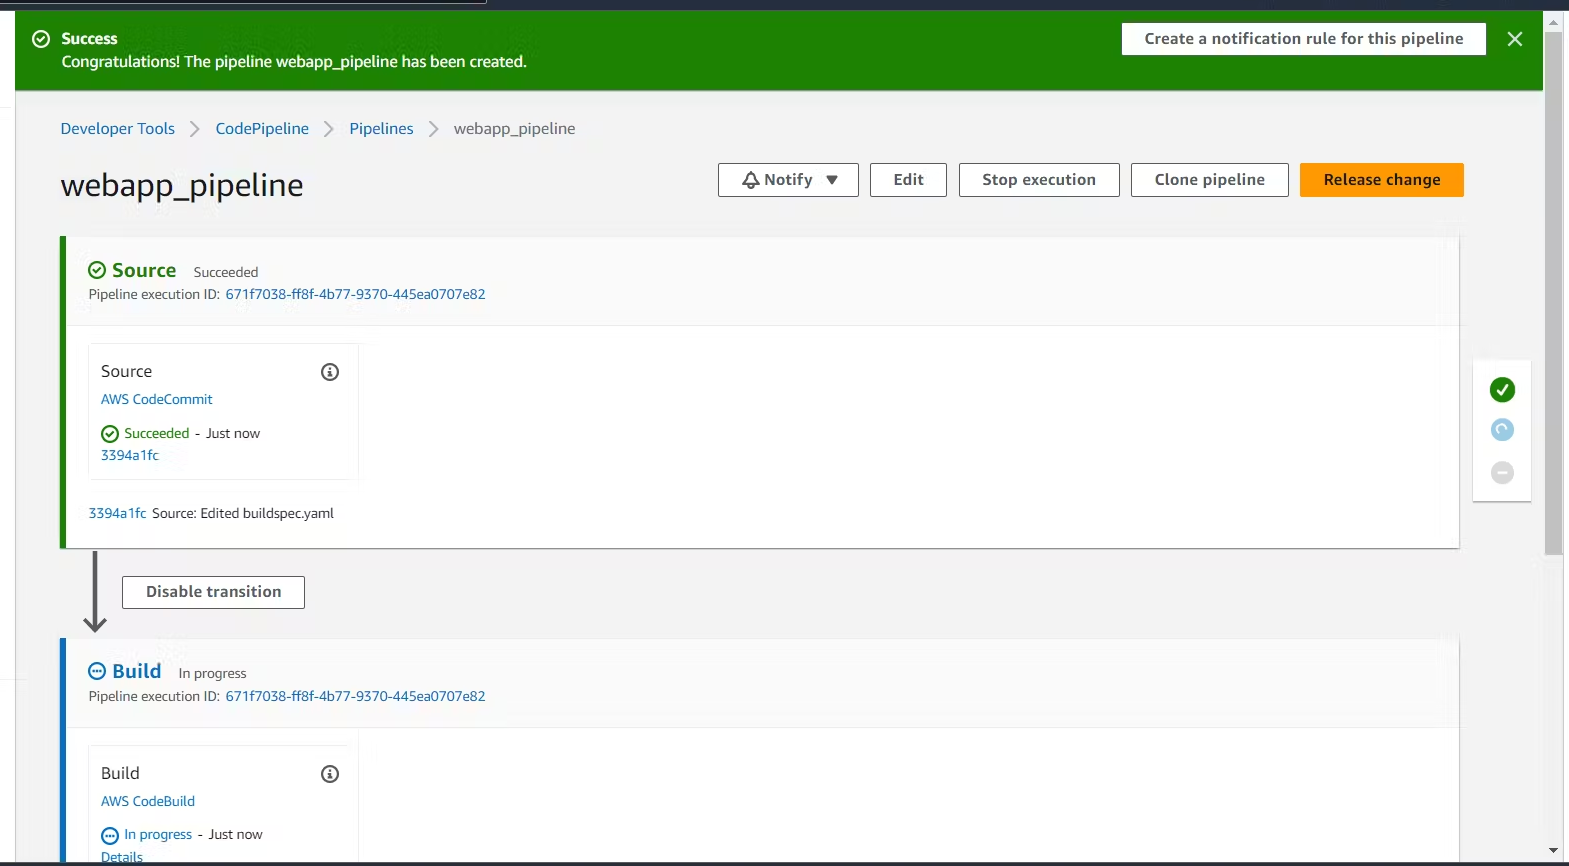
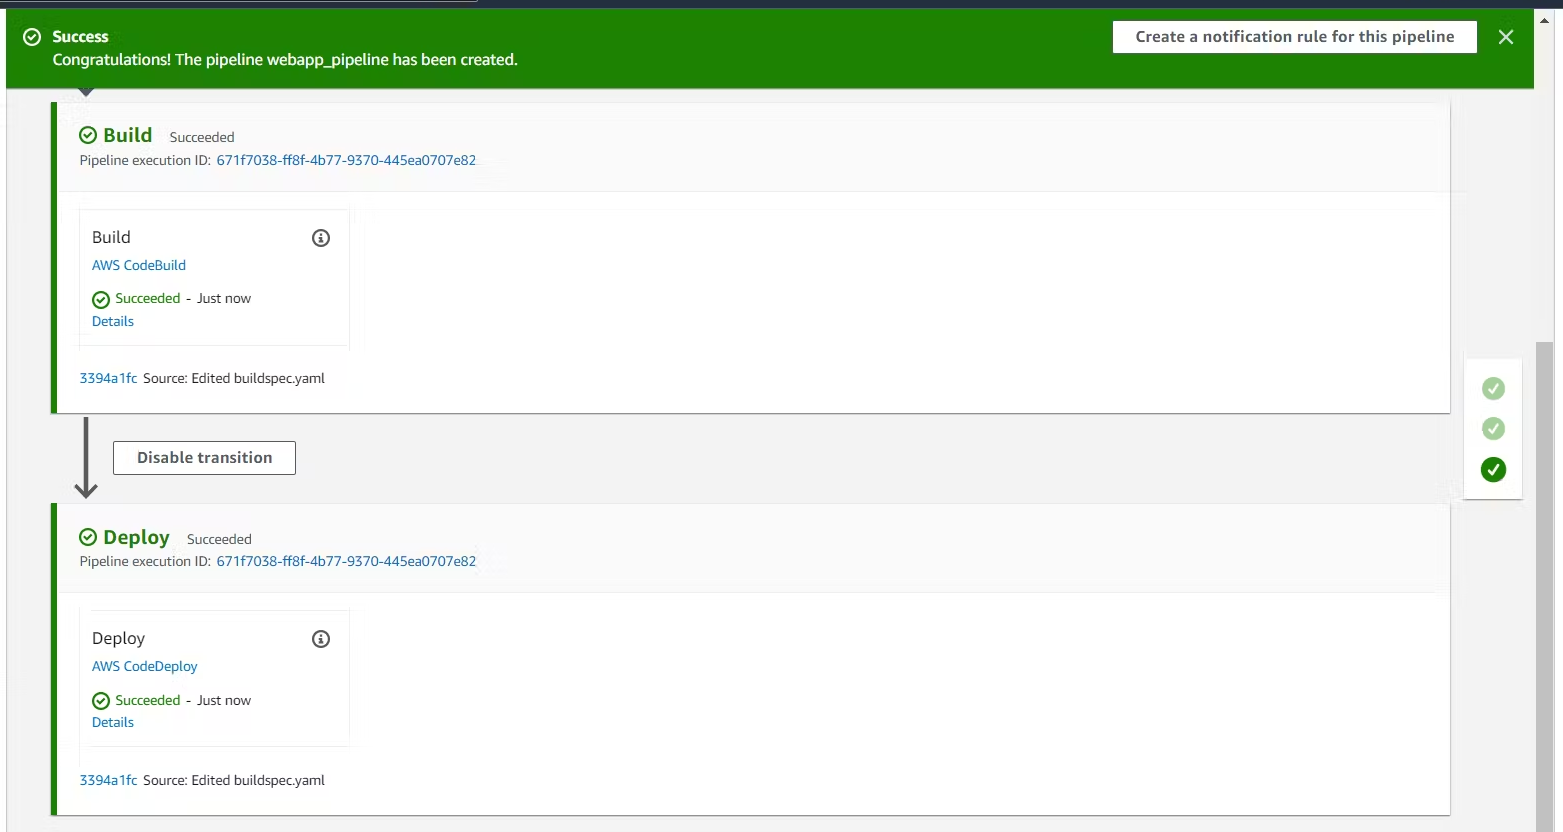
Then, it will build the code and deploy in the server as we can see in the below screenshot.
Now, navigate to the public URL of the instance and check the Webpage.

- We have successfully built the pipeline. Let's witness the magic. Let's modify our code and view the pipeline.
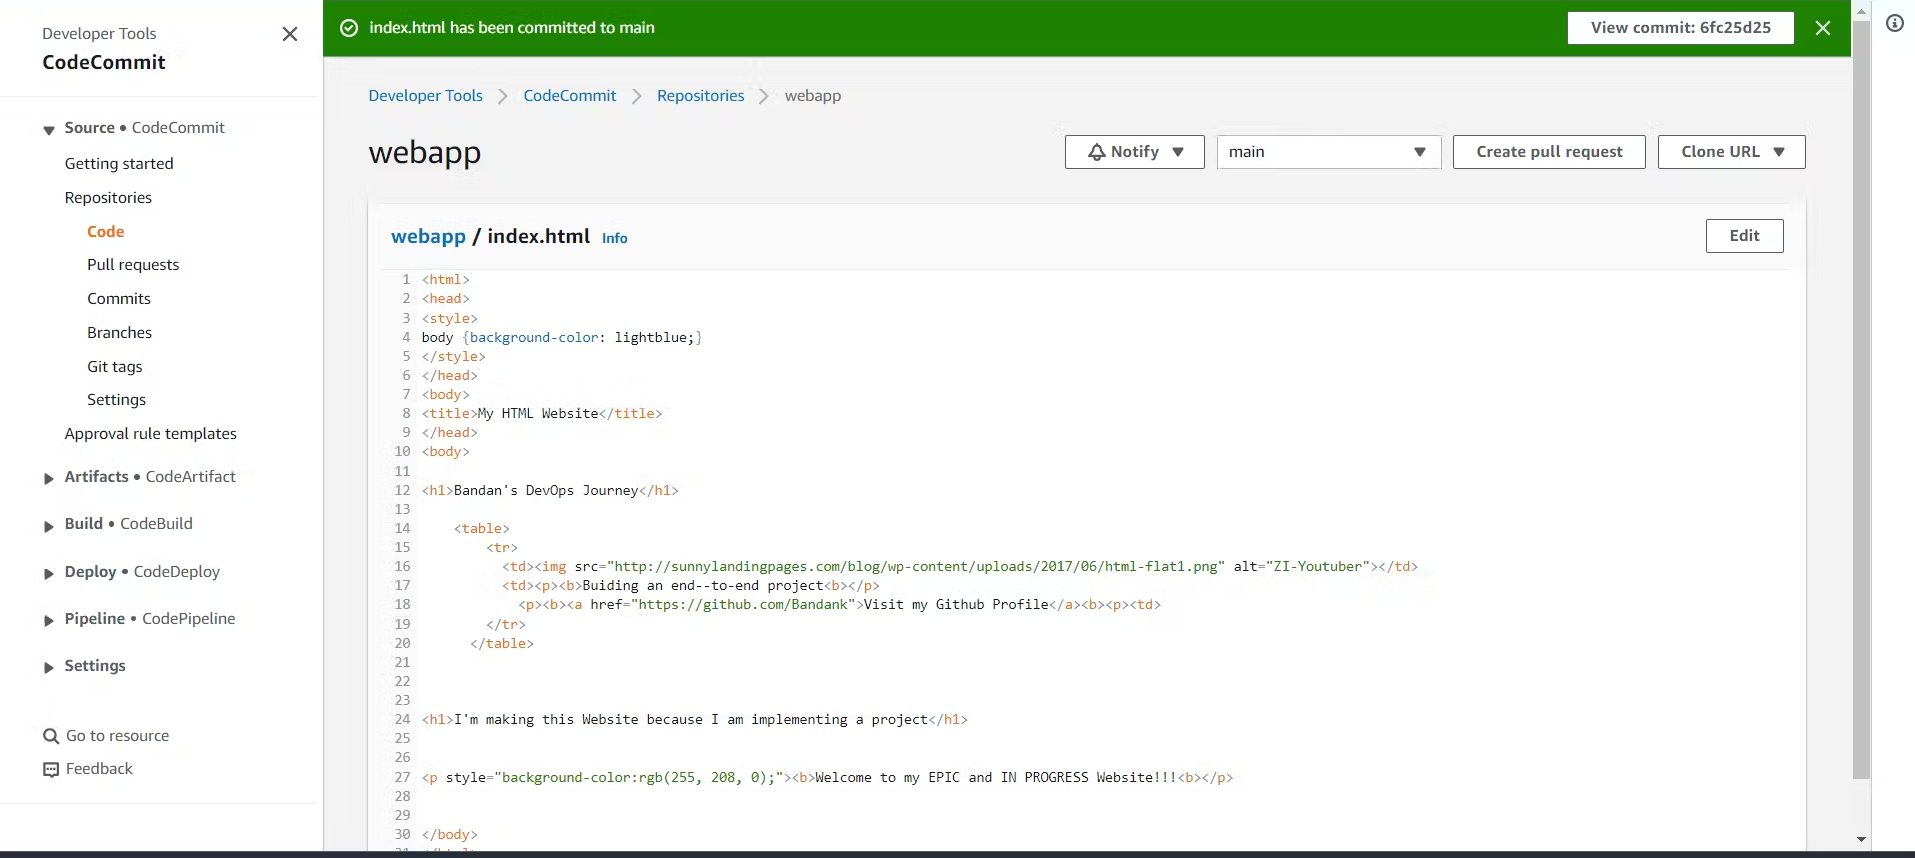
I have changed my index.html file and committed it in the CpdeCommit repository.
The pipeline has automatically picked up the code from the repository, built nad deployed it in the server.

Navigate to public URL.